This guide will walk you through deploying the Neural Activity Visualizer ReactJS demo app. The final result will be similar to the app running on this page. This guide will require you to have a GitHub account. If you don't already have one, you can create it for free here.
Deploying the Neural Activity Visualizer React demo app
Step 1:
Open the GitHub repository of this project. The URL is: https://github.com/NeuralEnsemble/neo-viewer.
Step 2:
To have greater freedom to effect changes in our app, instead of using this parent repository, we shall first create a fork of this project. This creates a copy of the project under our own account. To do so, click on 'Fork' as indicated below:


Step 3:
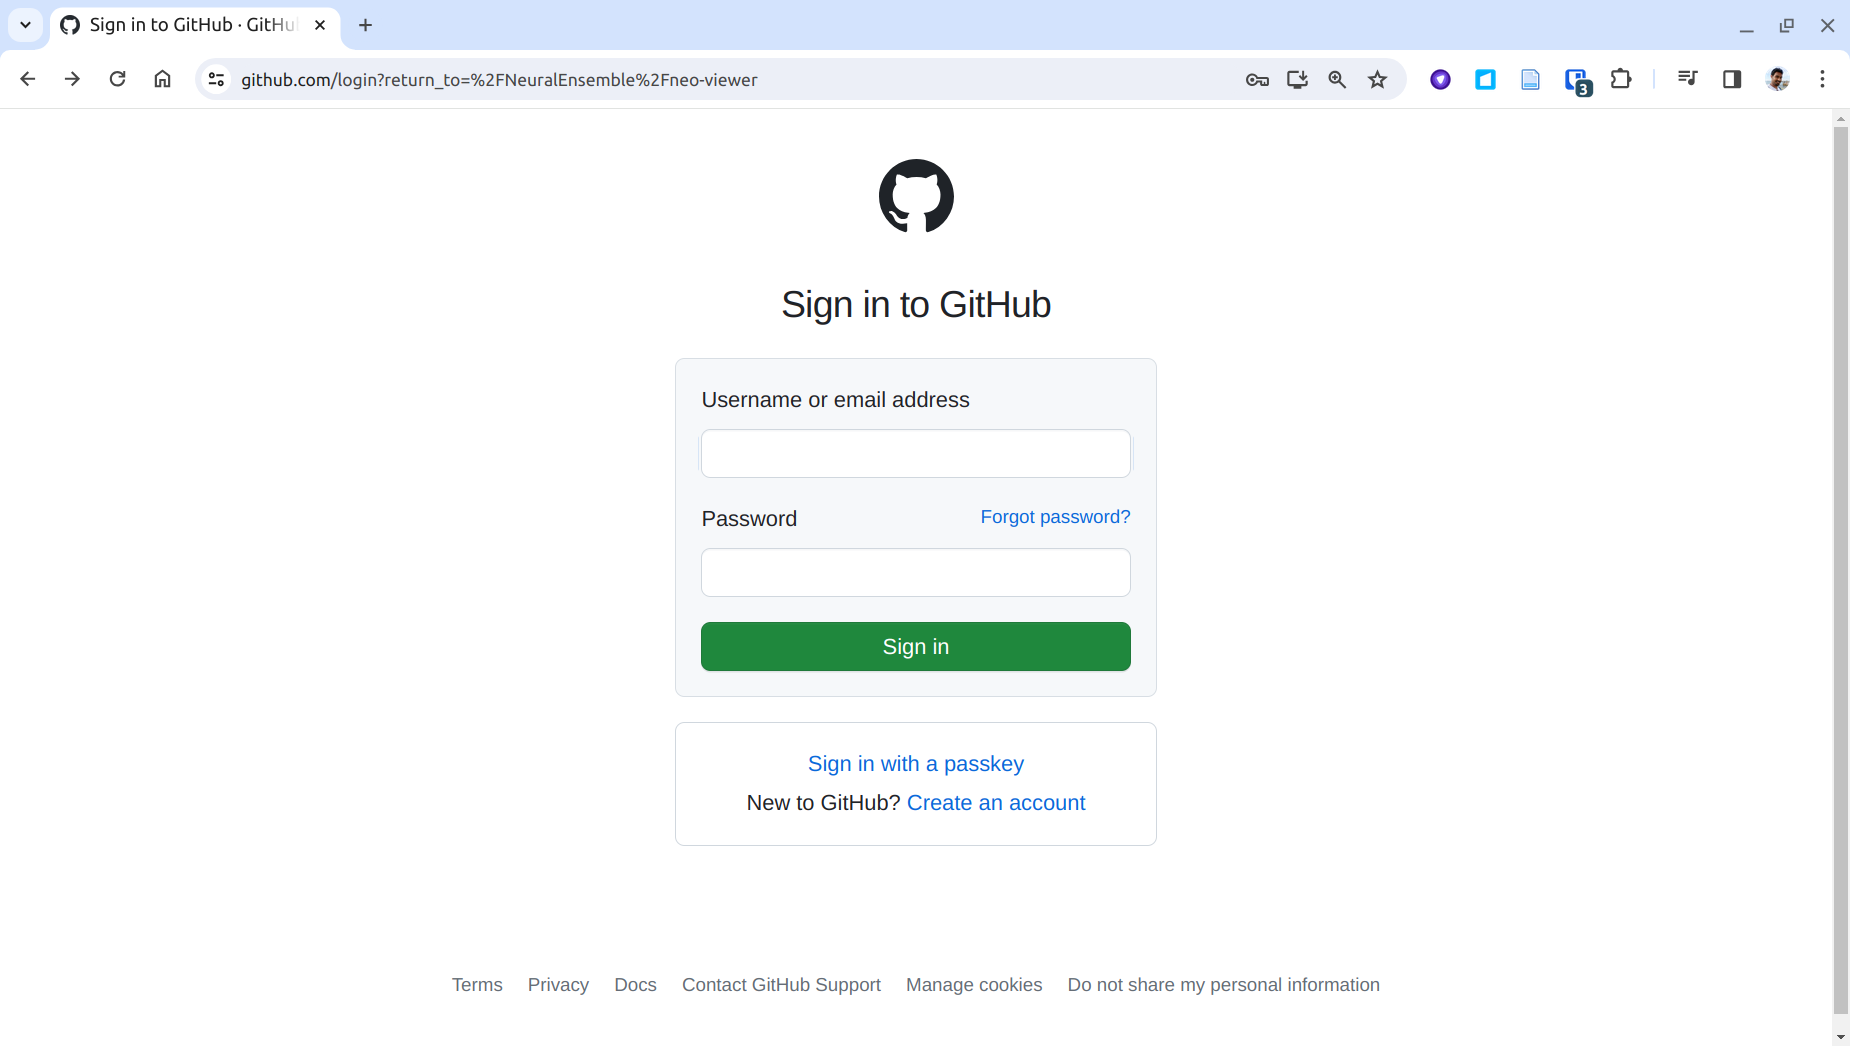
If you are not already logged into GitHub, you will be asked to login. Please enter your credentials and sign in.

Step 4:
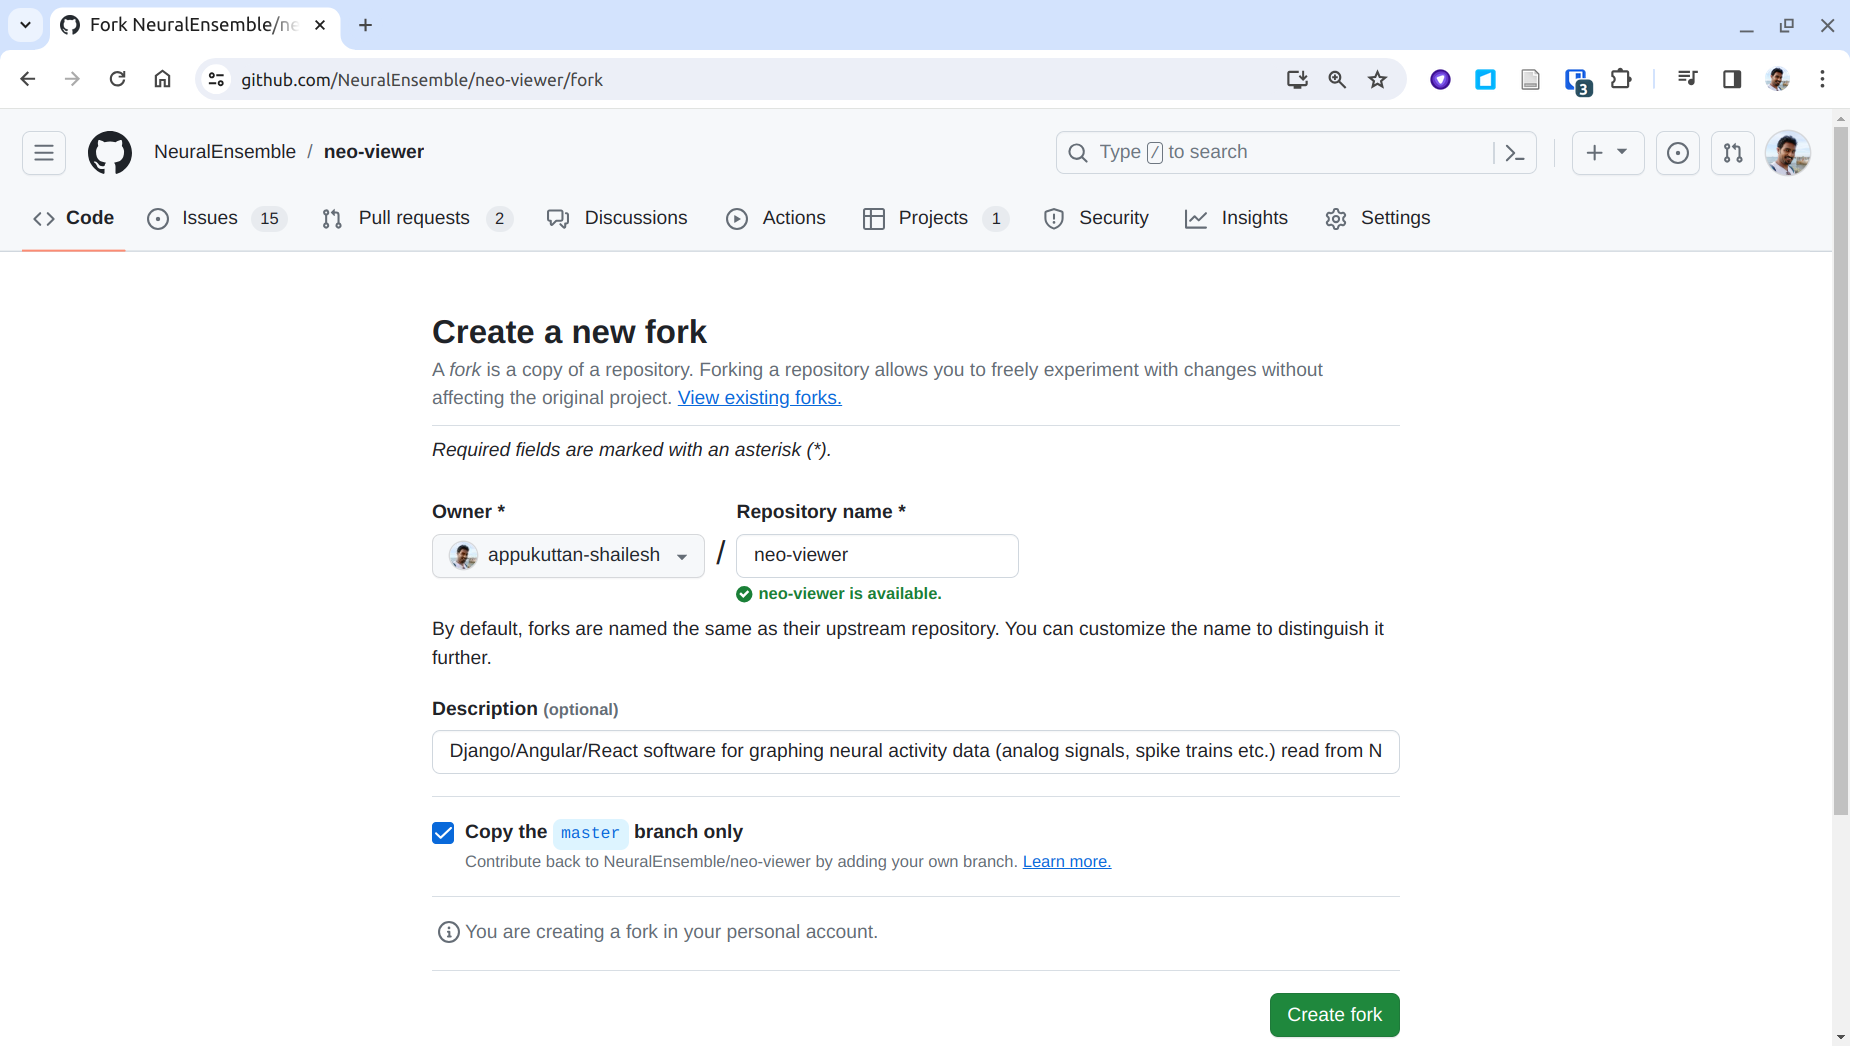
You will then be redirected to the page shown below. Here, you can select the account under which you want to fork the project. If you have multiple accounts, you can select the one you want to use from the dropdown menu. You can also specify a different name for this forked repository, but for now we shall use the existing name. You can leave the other options as displayed and click on the 'Create fork' button.

Step 5:
In a few moments you will be automatically redirected to your fork of the project. As seen below, the URL will be like this: 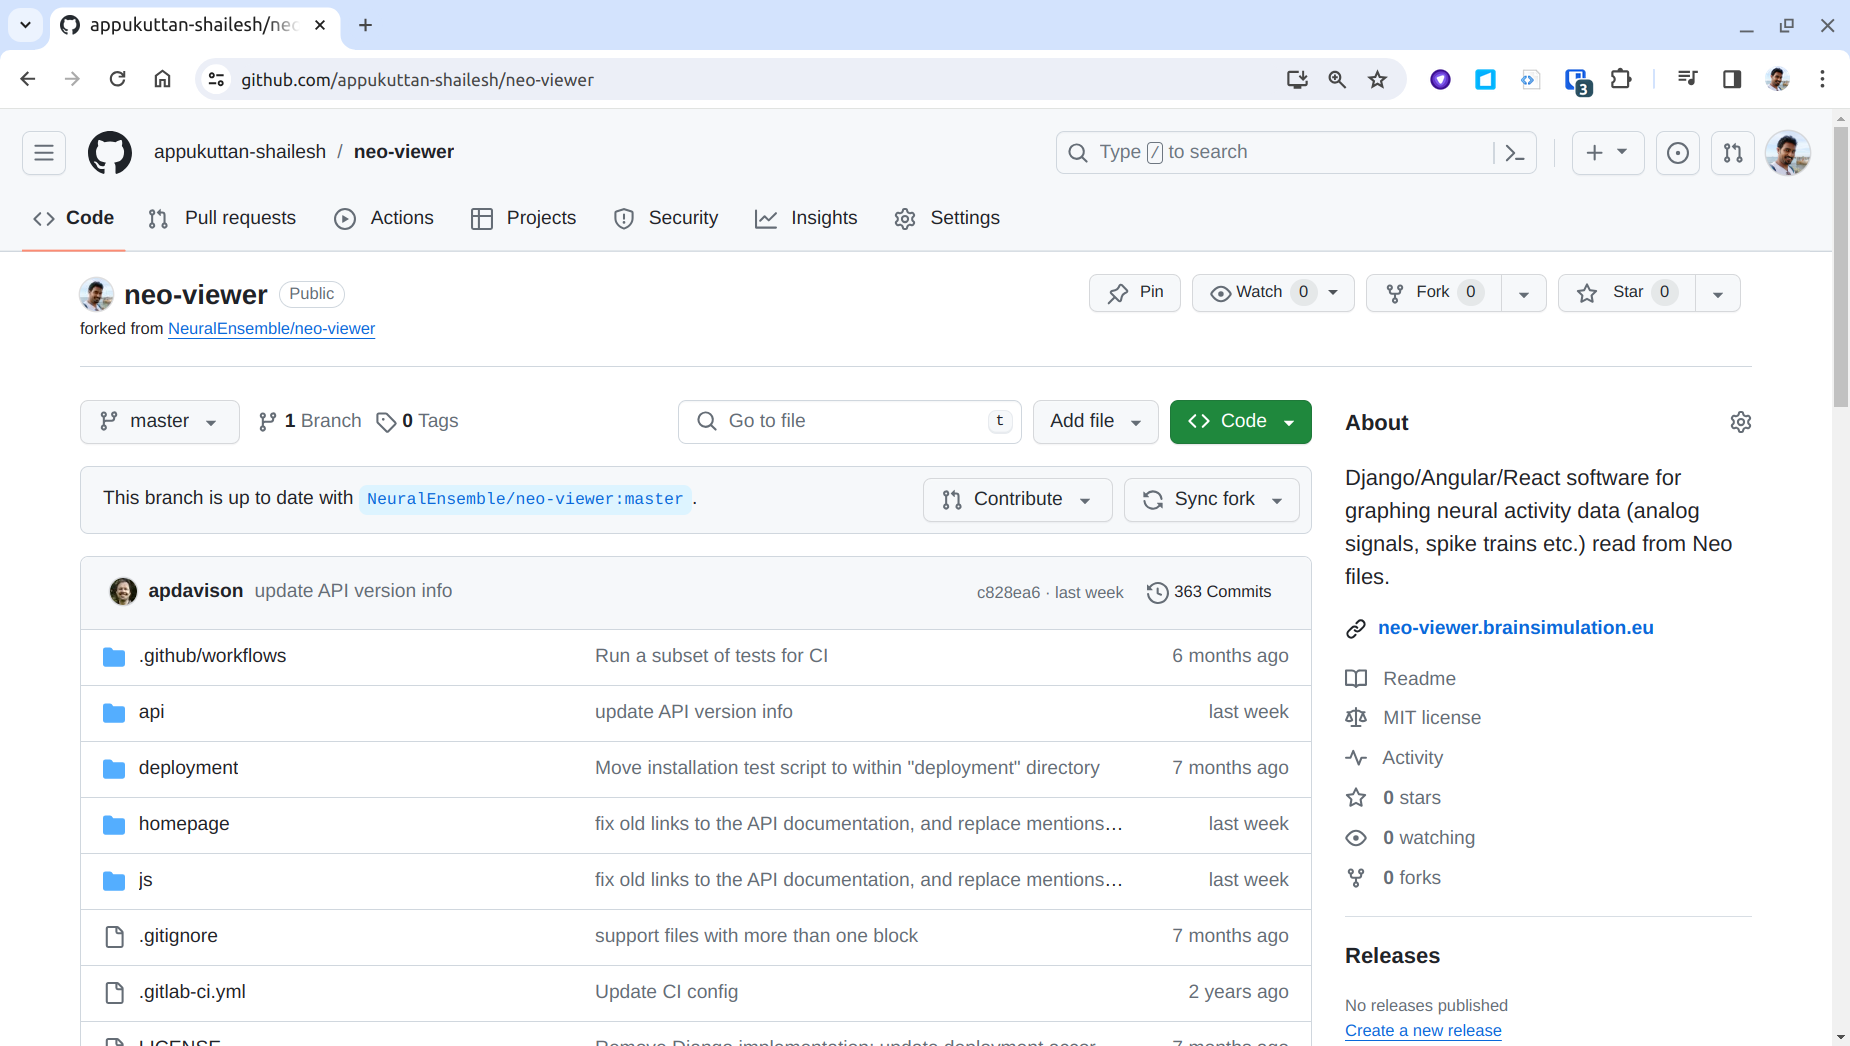
https://github.com/GitHub_Username/Repo_name.

Step 6:
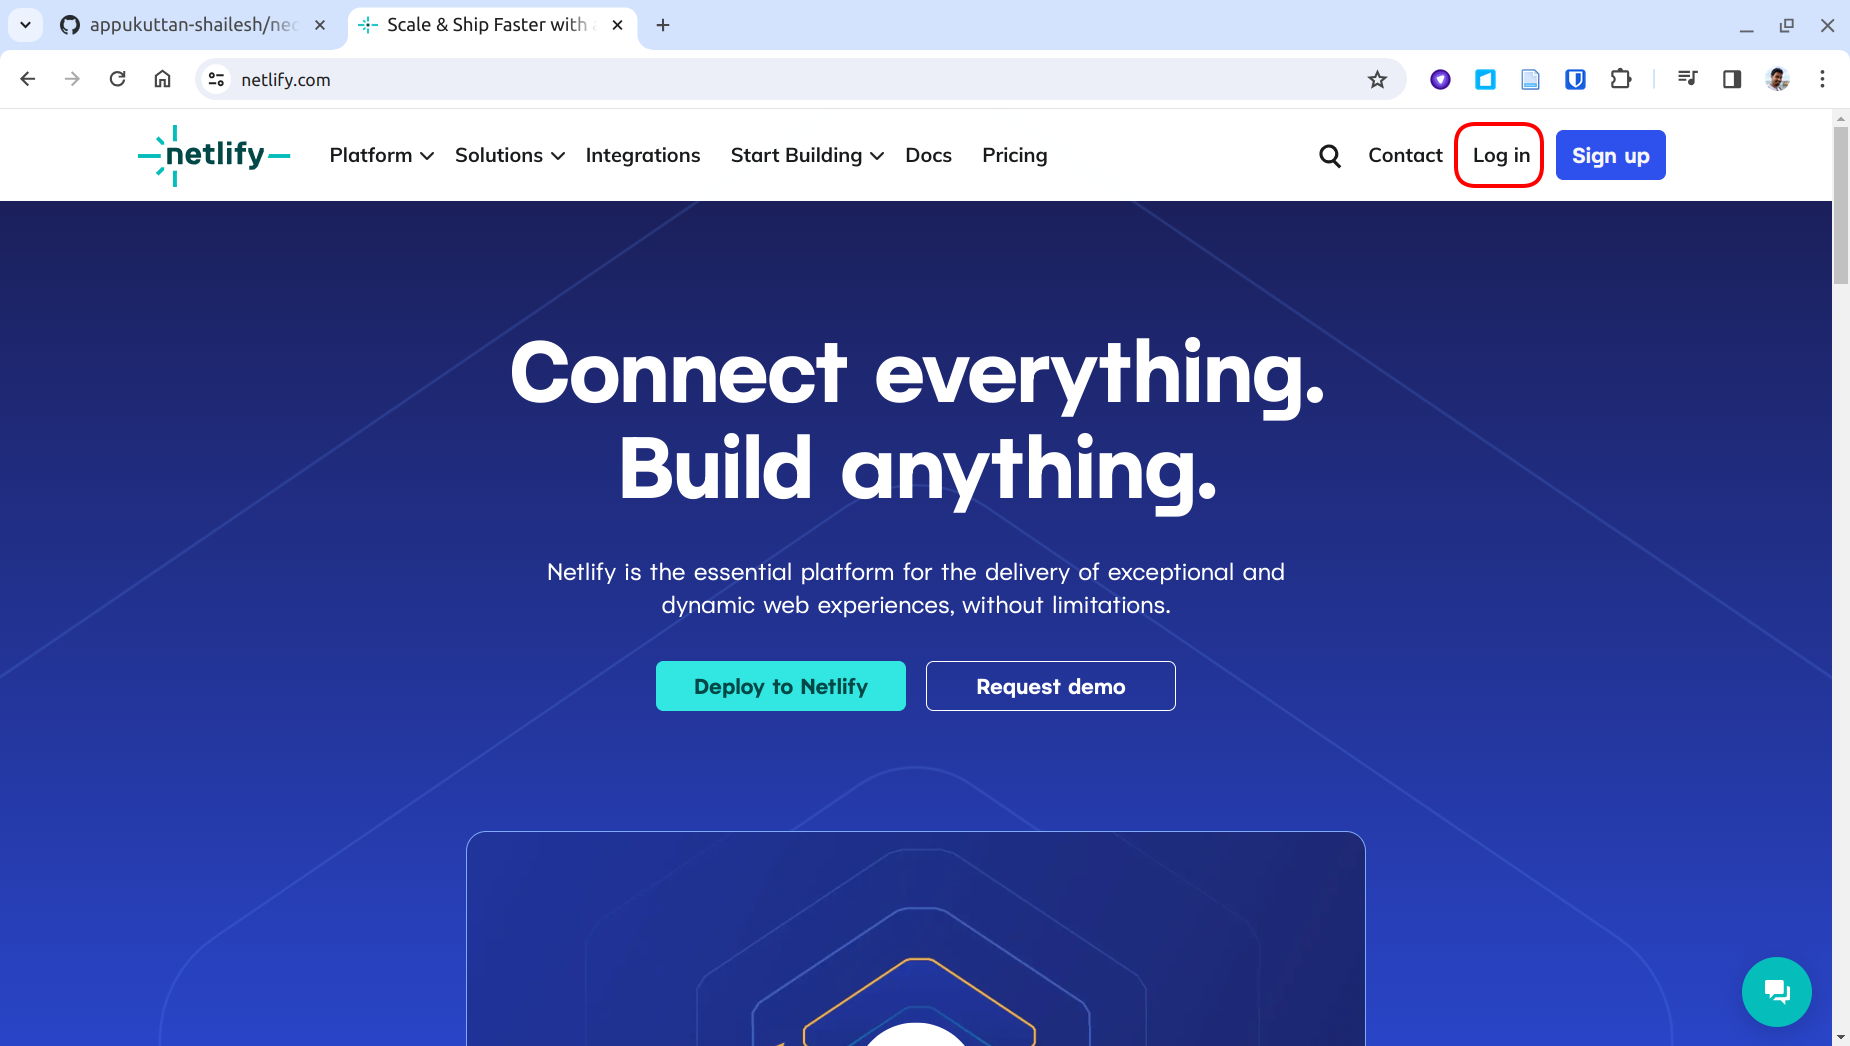
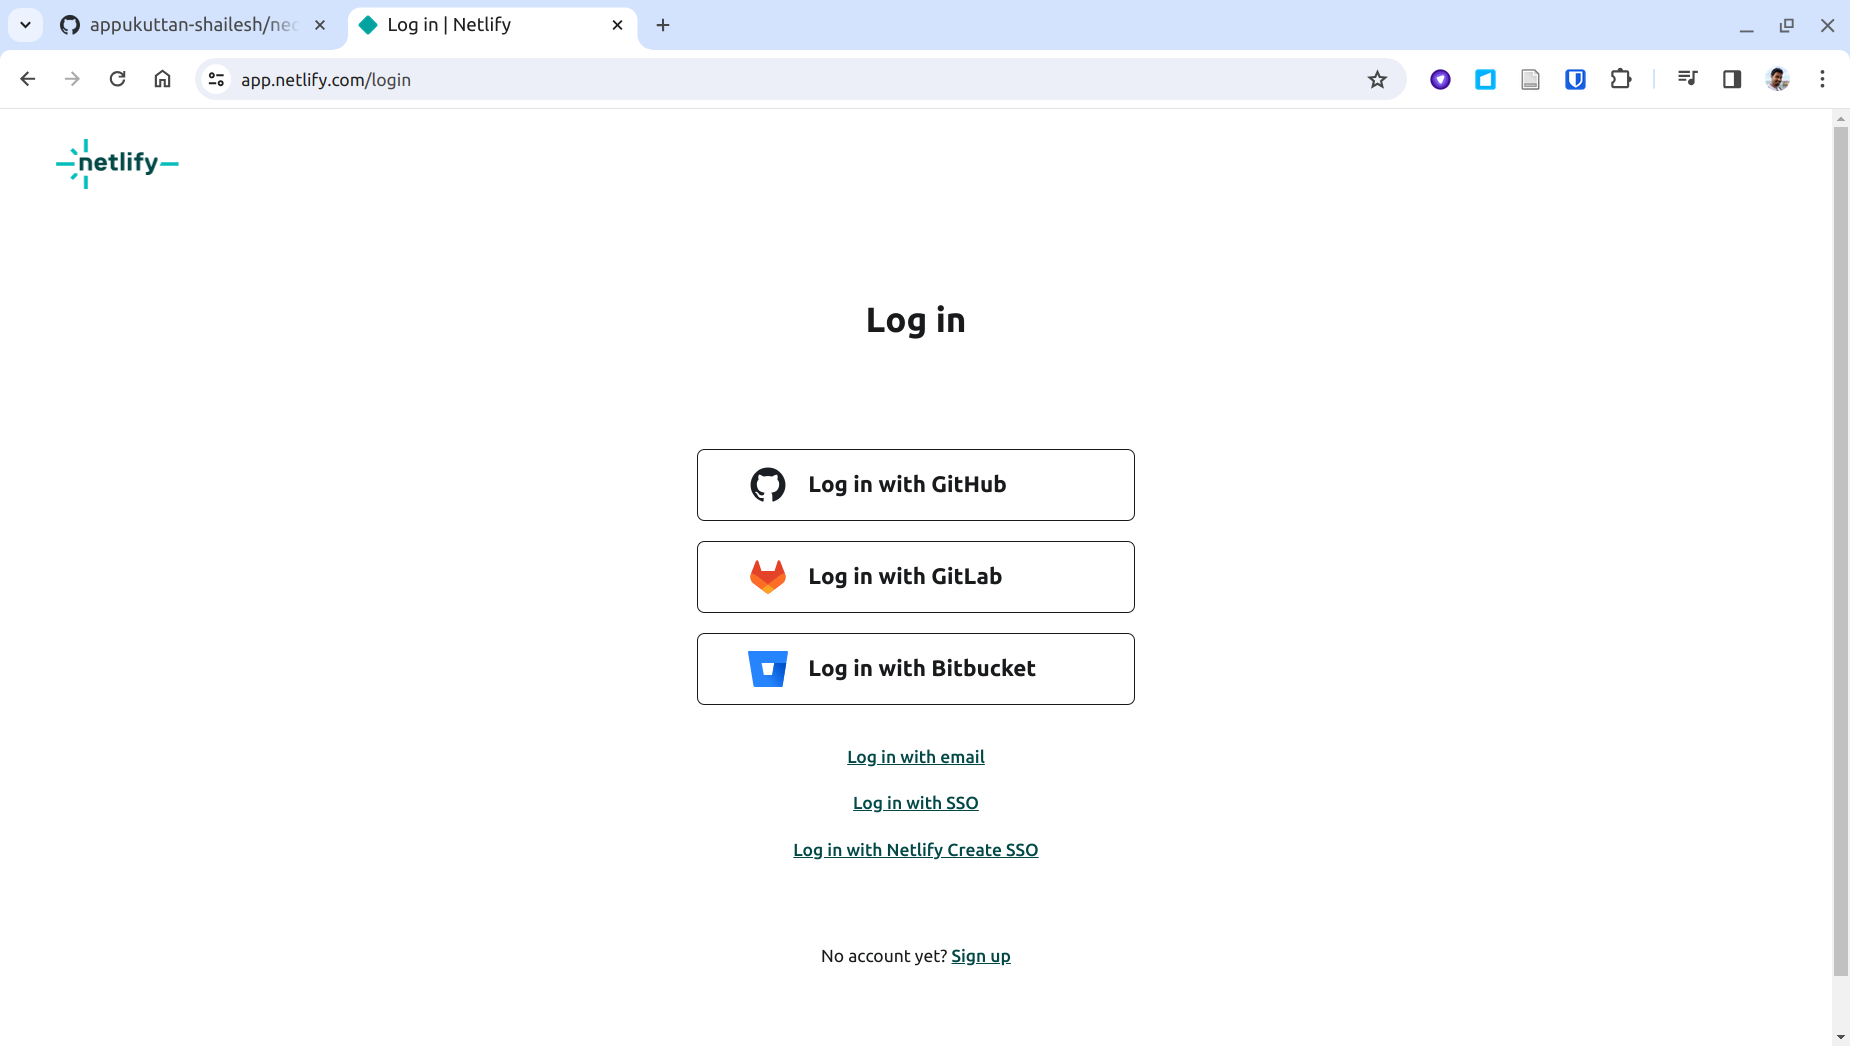
Now we are ready to deploy the app. We shall use a website called Netlify to host our app. If you don't already have an account, you can create one for free here. It is very easy to create an account, and you can sign up using your GitHub account. Click on the 'Log in' button as shown below:

Step 7:
Login to Netlify with your GitHub account:

Step 8:
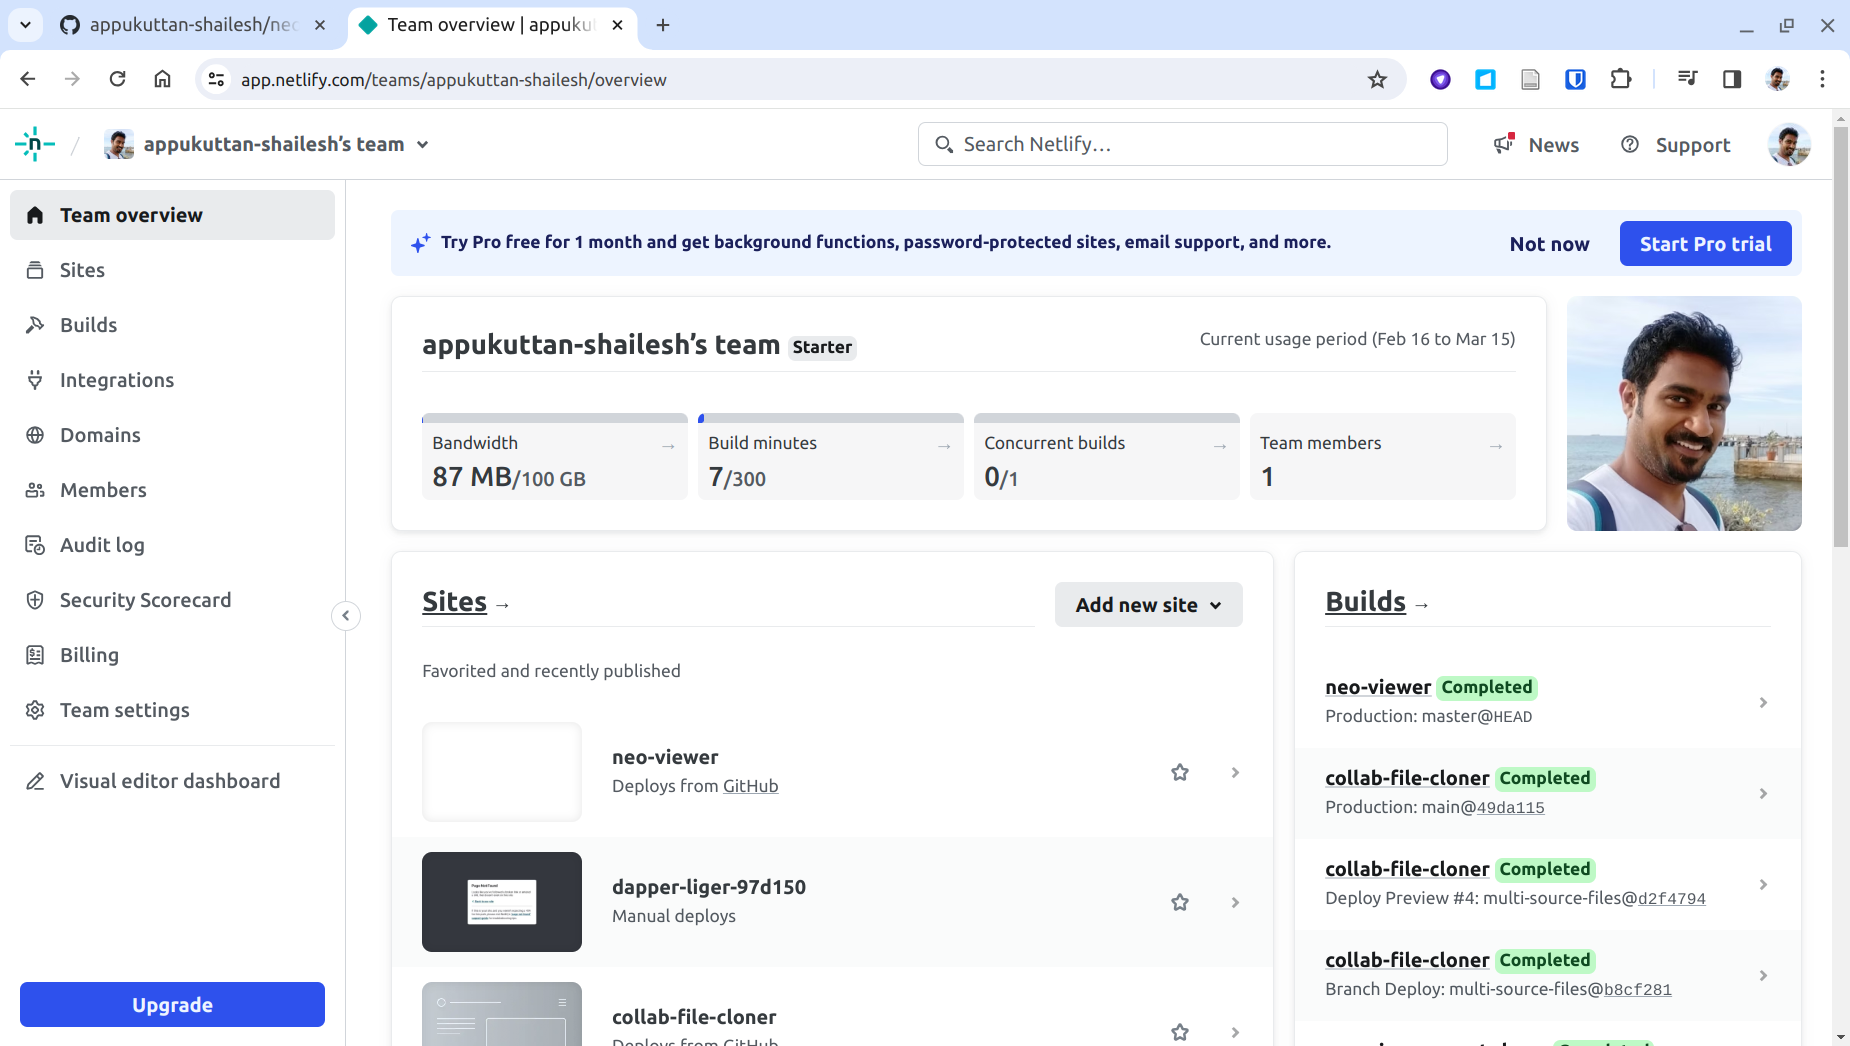
On logging in you will see your account's overview page. Click on the 'Add new site' button on the middle of the page:

Step 9:
This will show you a few methods for adding a new site. Click on 'Import an existing project' from the drop-down list:


Step 10:
On the next page, select 'Deploy with GitHub':


Step 11:
This page will show you a list of your GitHub repositories that Netlify currently has access to. You might not see your forked repository here at the moment. If this is the first time you are using Netlify, this list might be empty. To fix this, click on the 'Configure the Netlify app on GitHub' link on the bottom of the page, to give Netlify access to your forked GitHub repository.


Step 12:
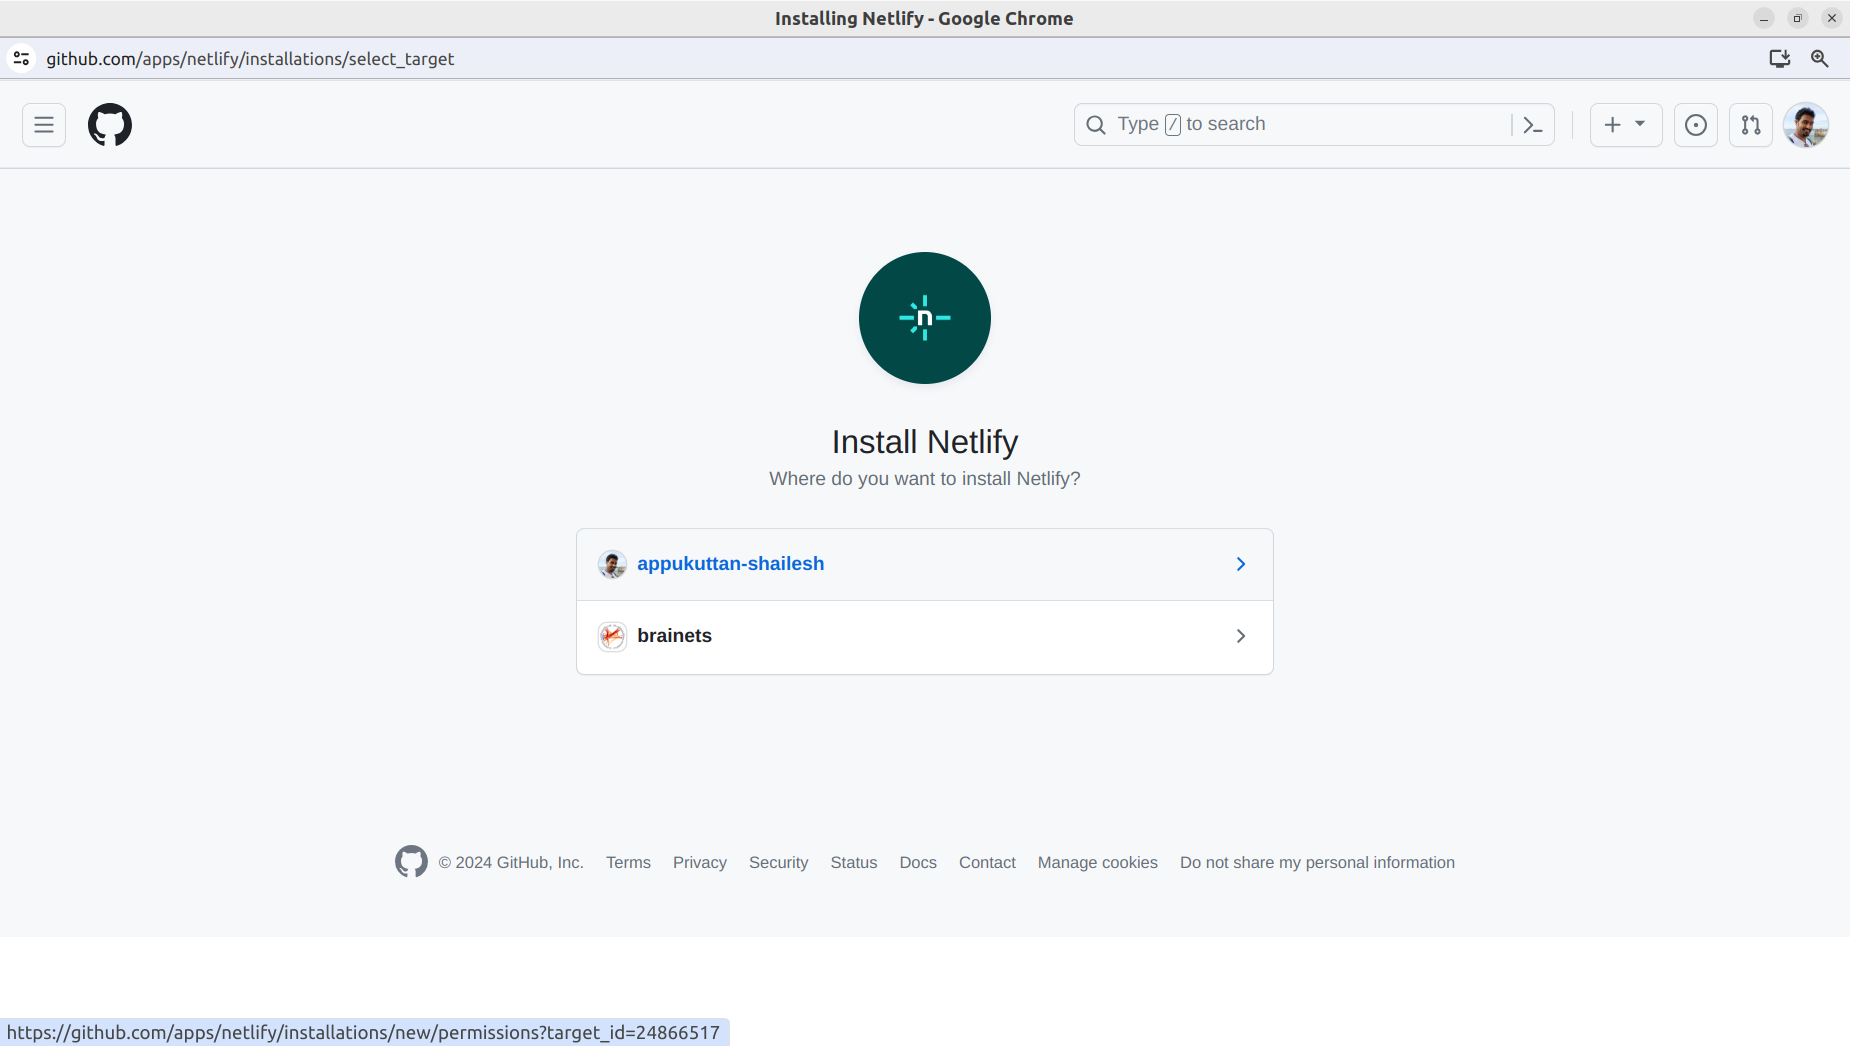
This will open a new tab in your browser. You might see several accounts listed here, that you have access to on GitHub. Select the account under which you forked the project in step 4 above.

Step 13:
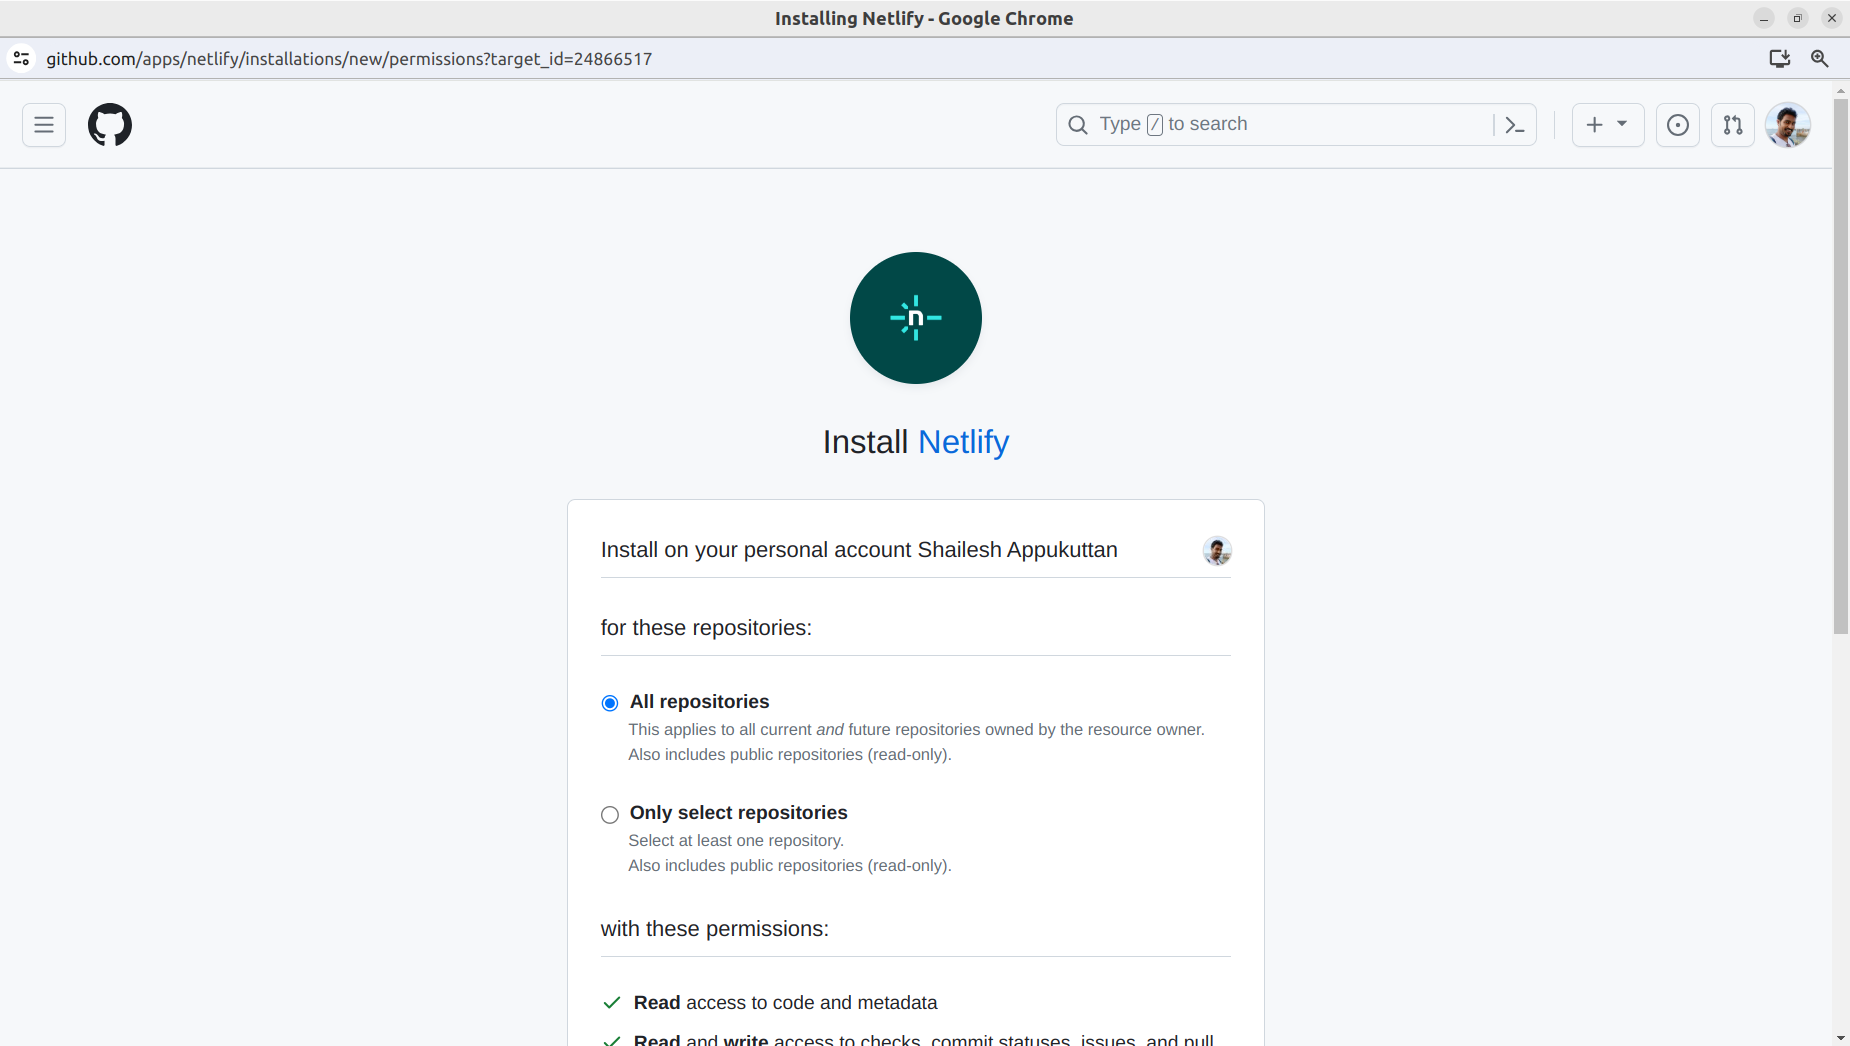
You will then be asked to grant Netlify access to your repositories.

Step 14:
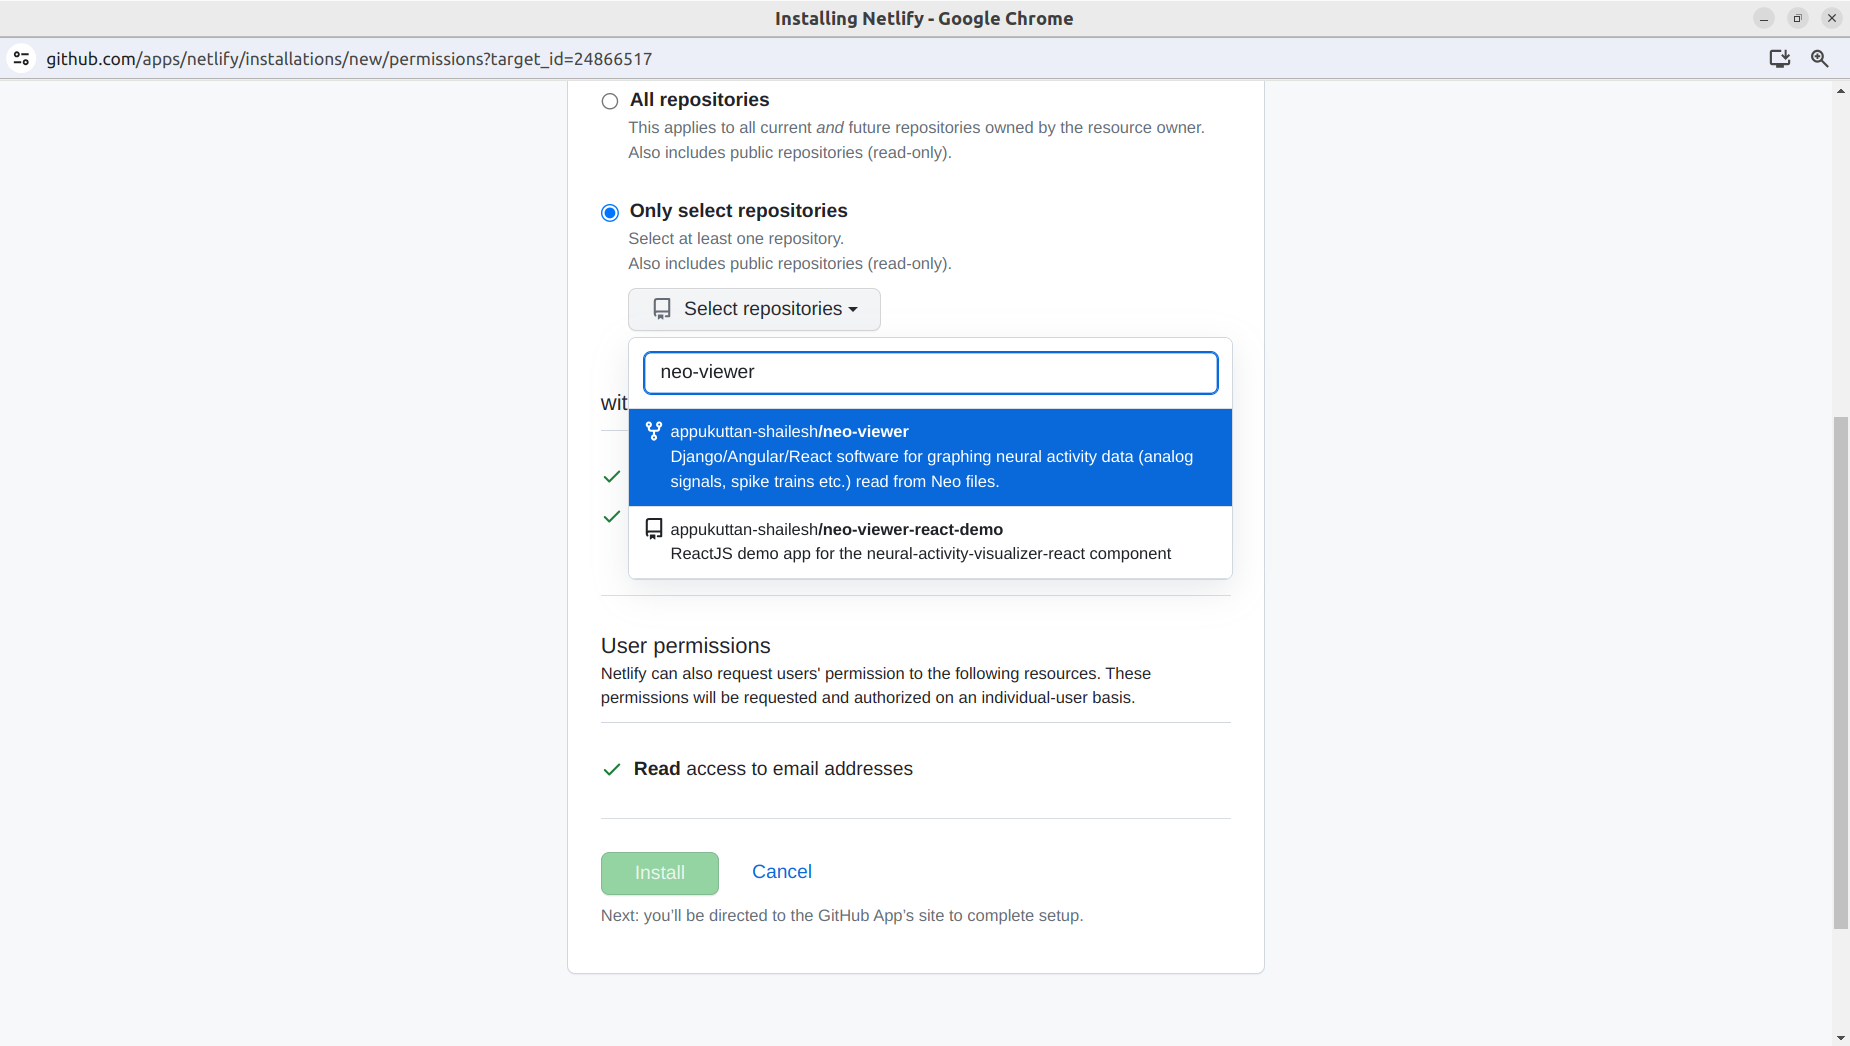
By default, 'All repositories' are selected. If you are okay with this, click on the 'Install' button. If you want to be more selective, click on the 'Only select repositories' button. This will give you a drop-down list of all your repositories. Select the name of the repository you specified in step 4.

Step 15:
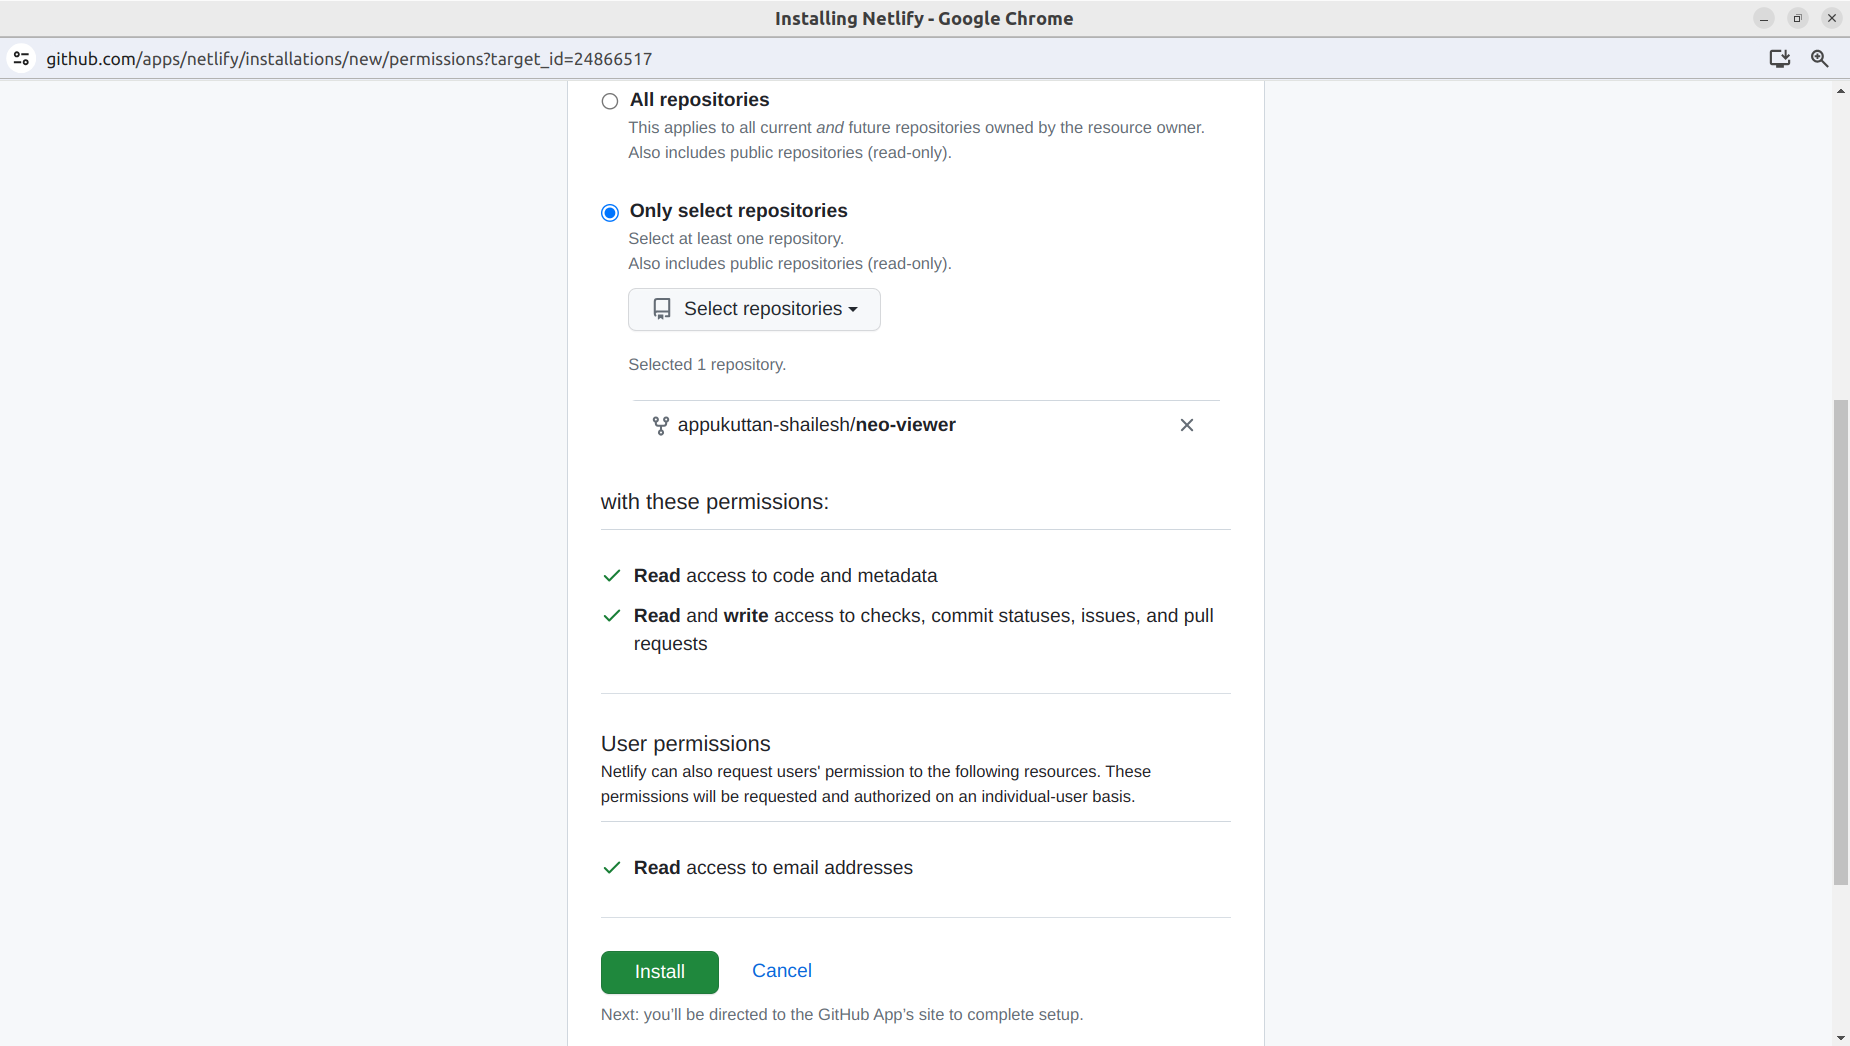
Once selected, you will see the repository listed. Click on the 'Install' button.

Step 16:
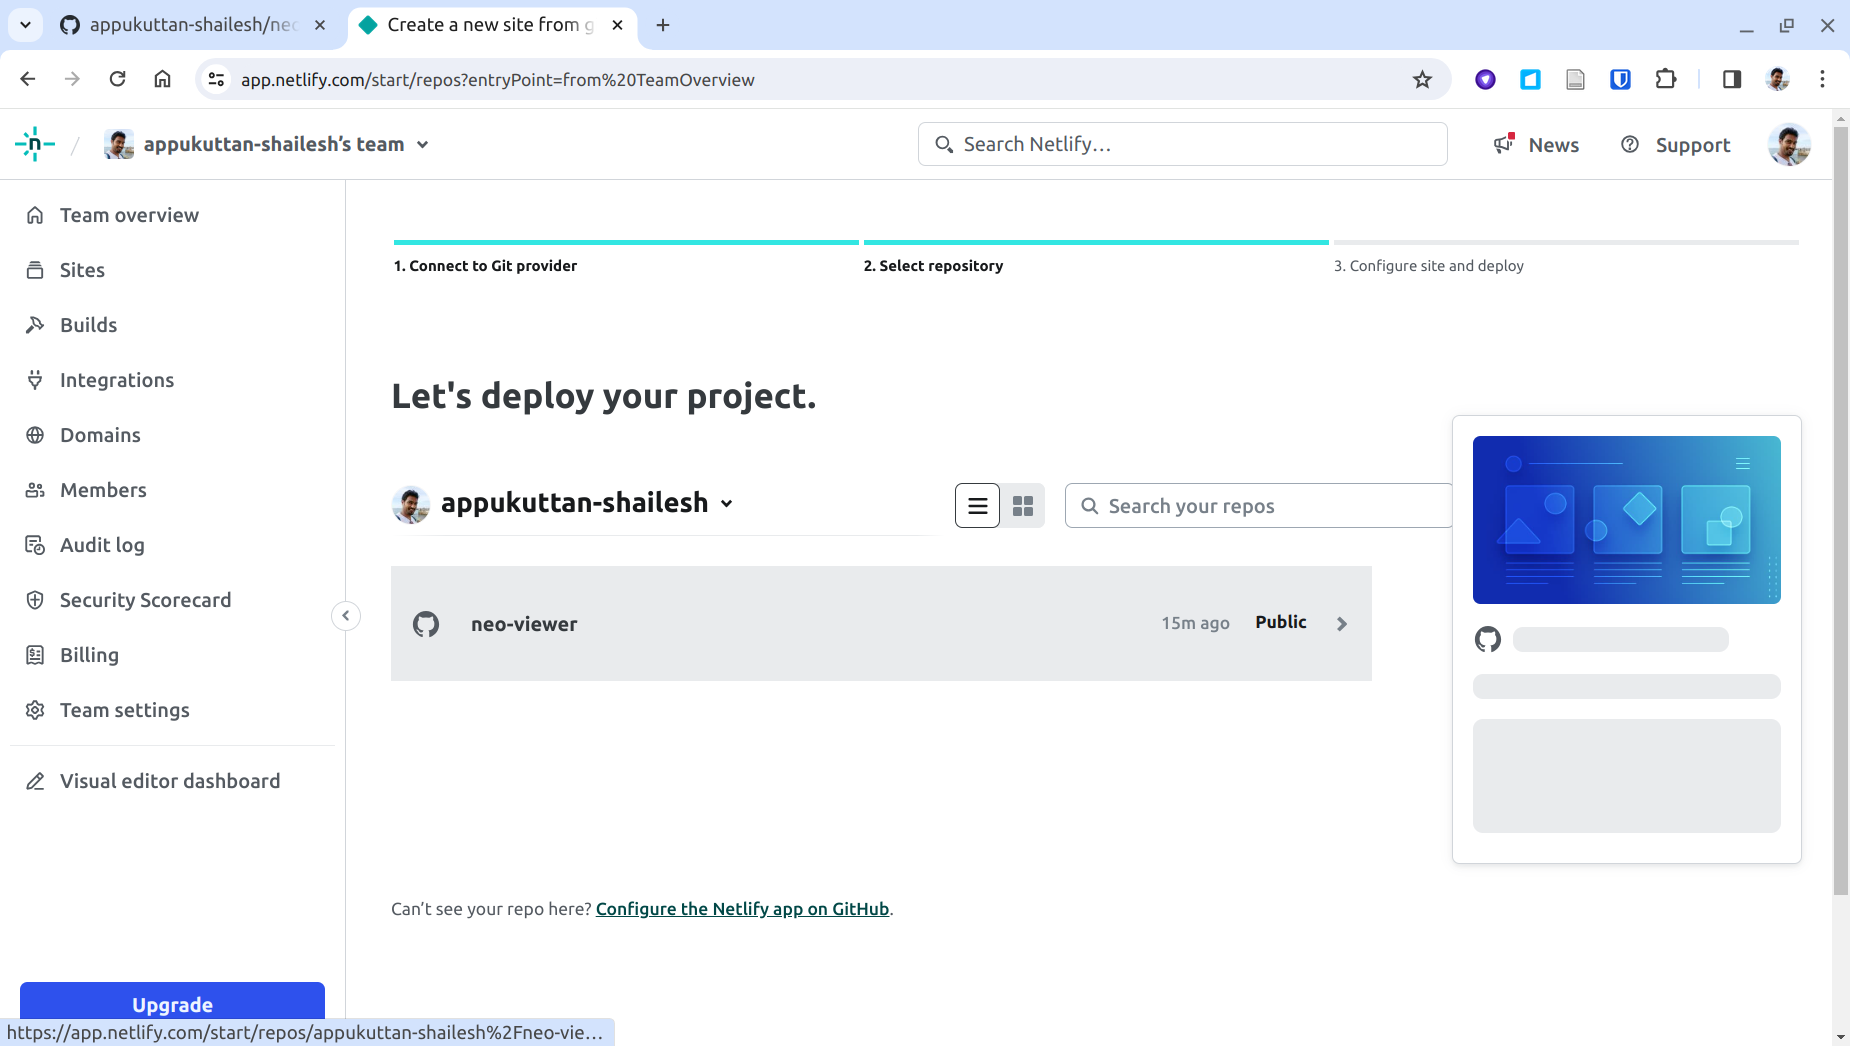
You will now be redirected back to the same page as in step 11. You should now see your forked repository listed. Click on the repository name (or anywhere on that row) to proceed.

Step 17:
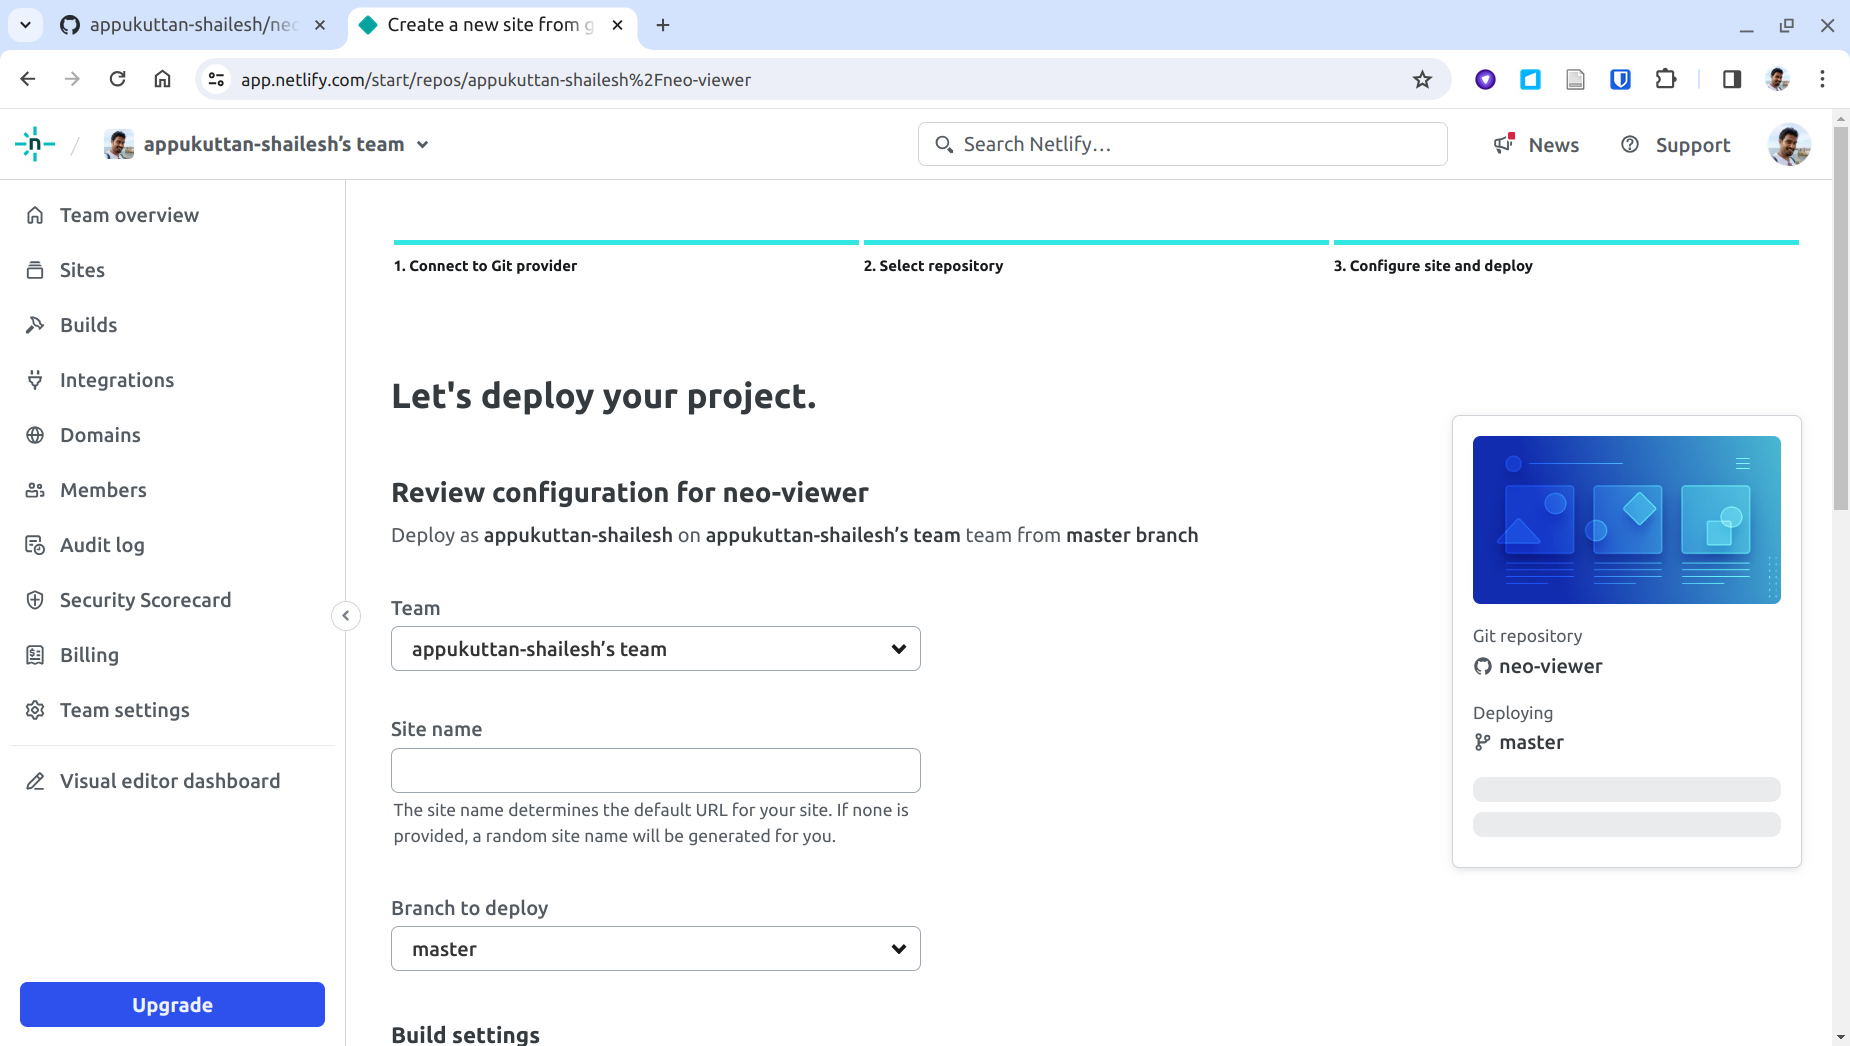
You will be taken to this page where you can specify the deployment configuration:

Step 18:
Let us first assign a name for our upcoming site. Here, I am setting this to 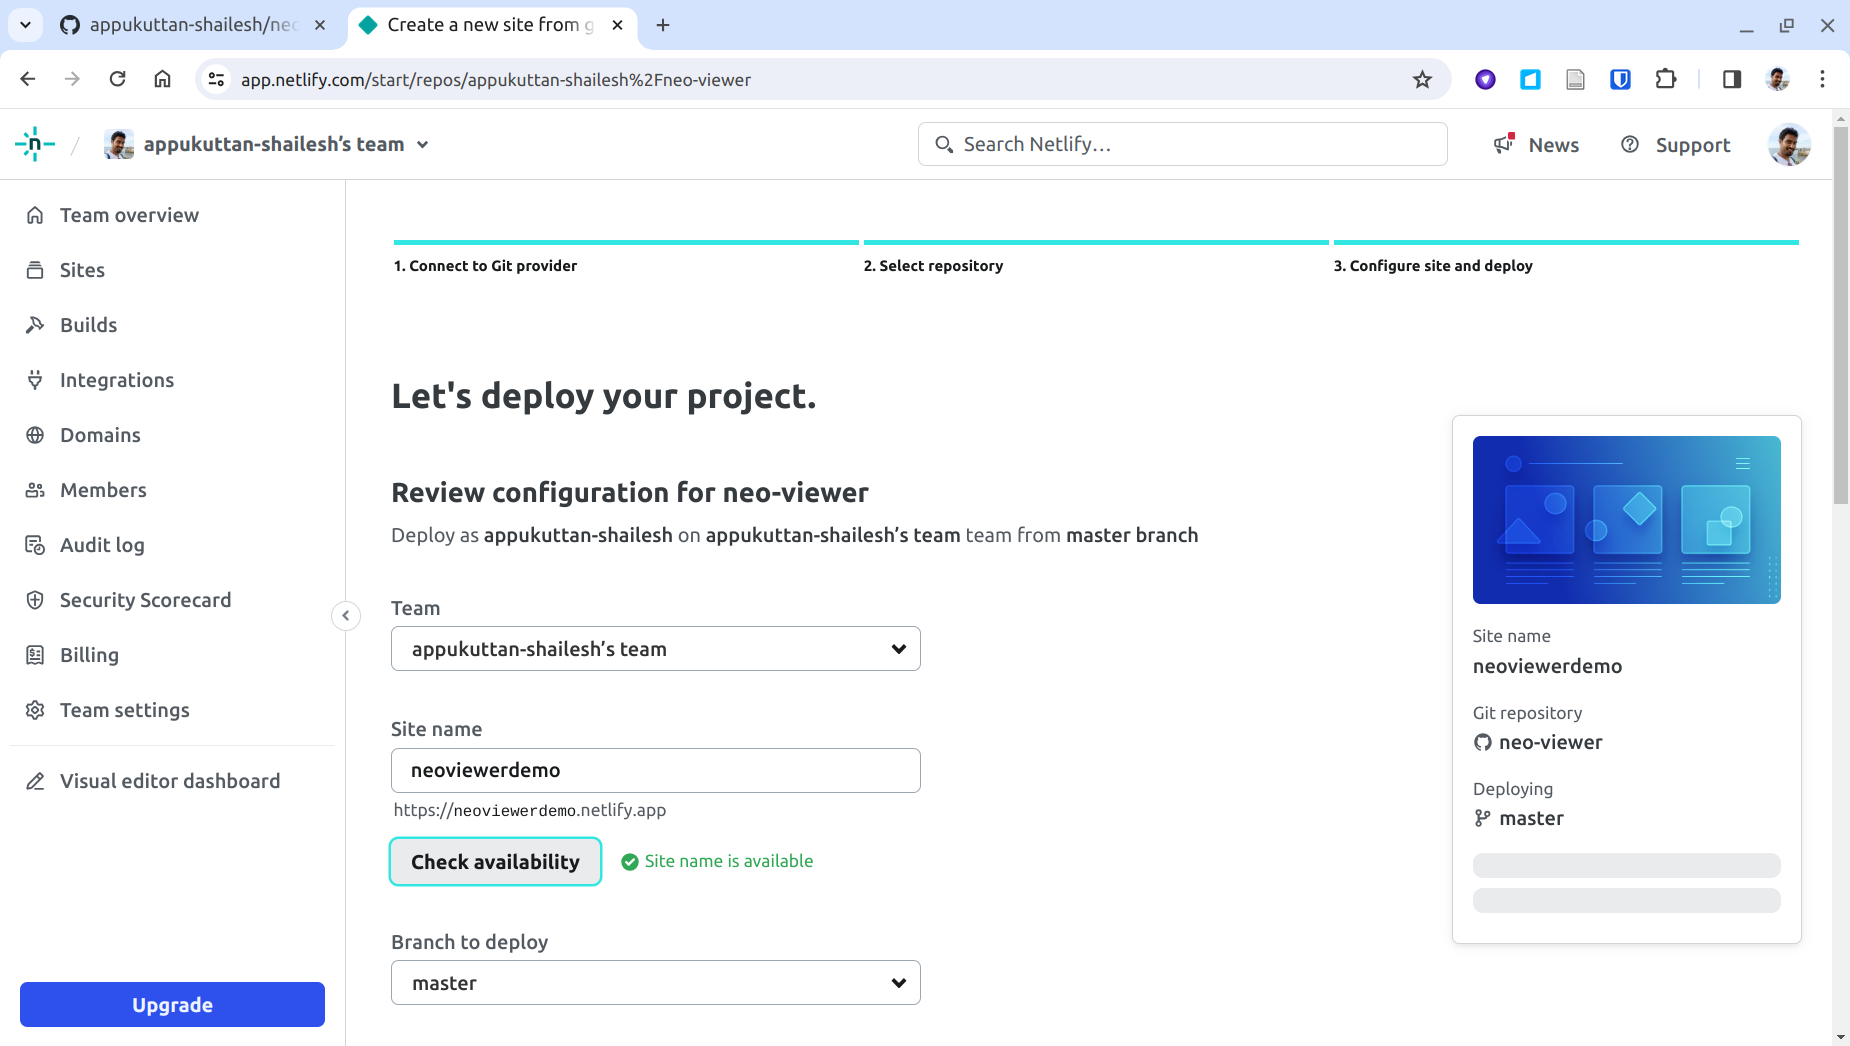
neoviewerdemo which would set the URL for the app as: https://neoviewerdemo.netlify.app. You can set this to any name you like, as long as it is not already taken.

Step 19:
Scroll further down the page, and set the following values for the build settings:
Leave the rest of the options as they are.
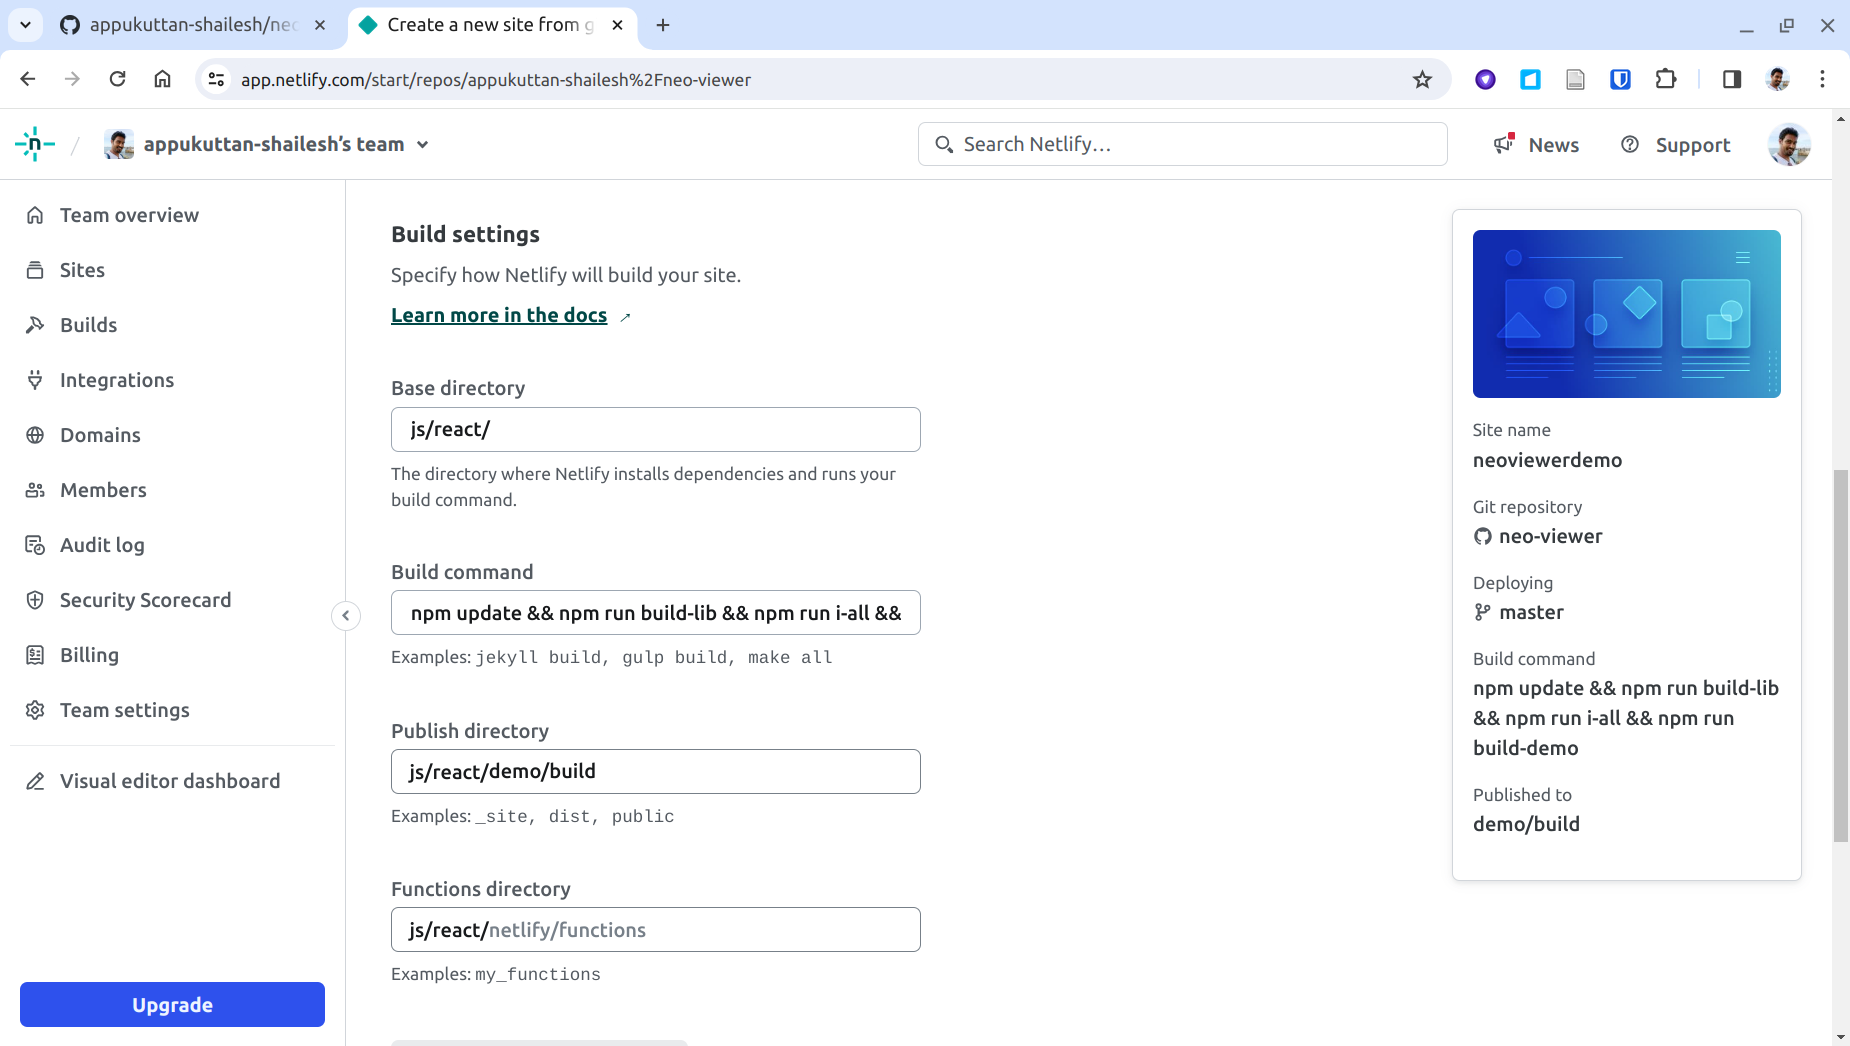
| Base directory: | js/react/ |
| Build command: | npm update && npm run build-lib && npm run i-all && npm run build-demo |
| Publish directory: | js/react/demo/build |

Step 20:
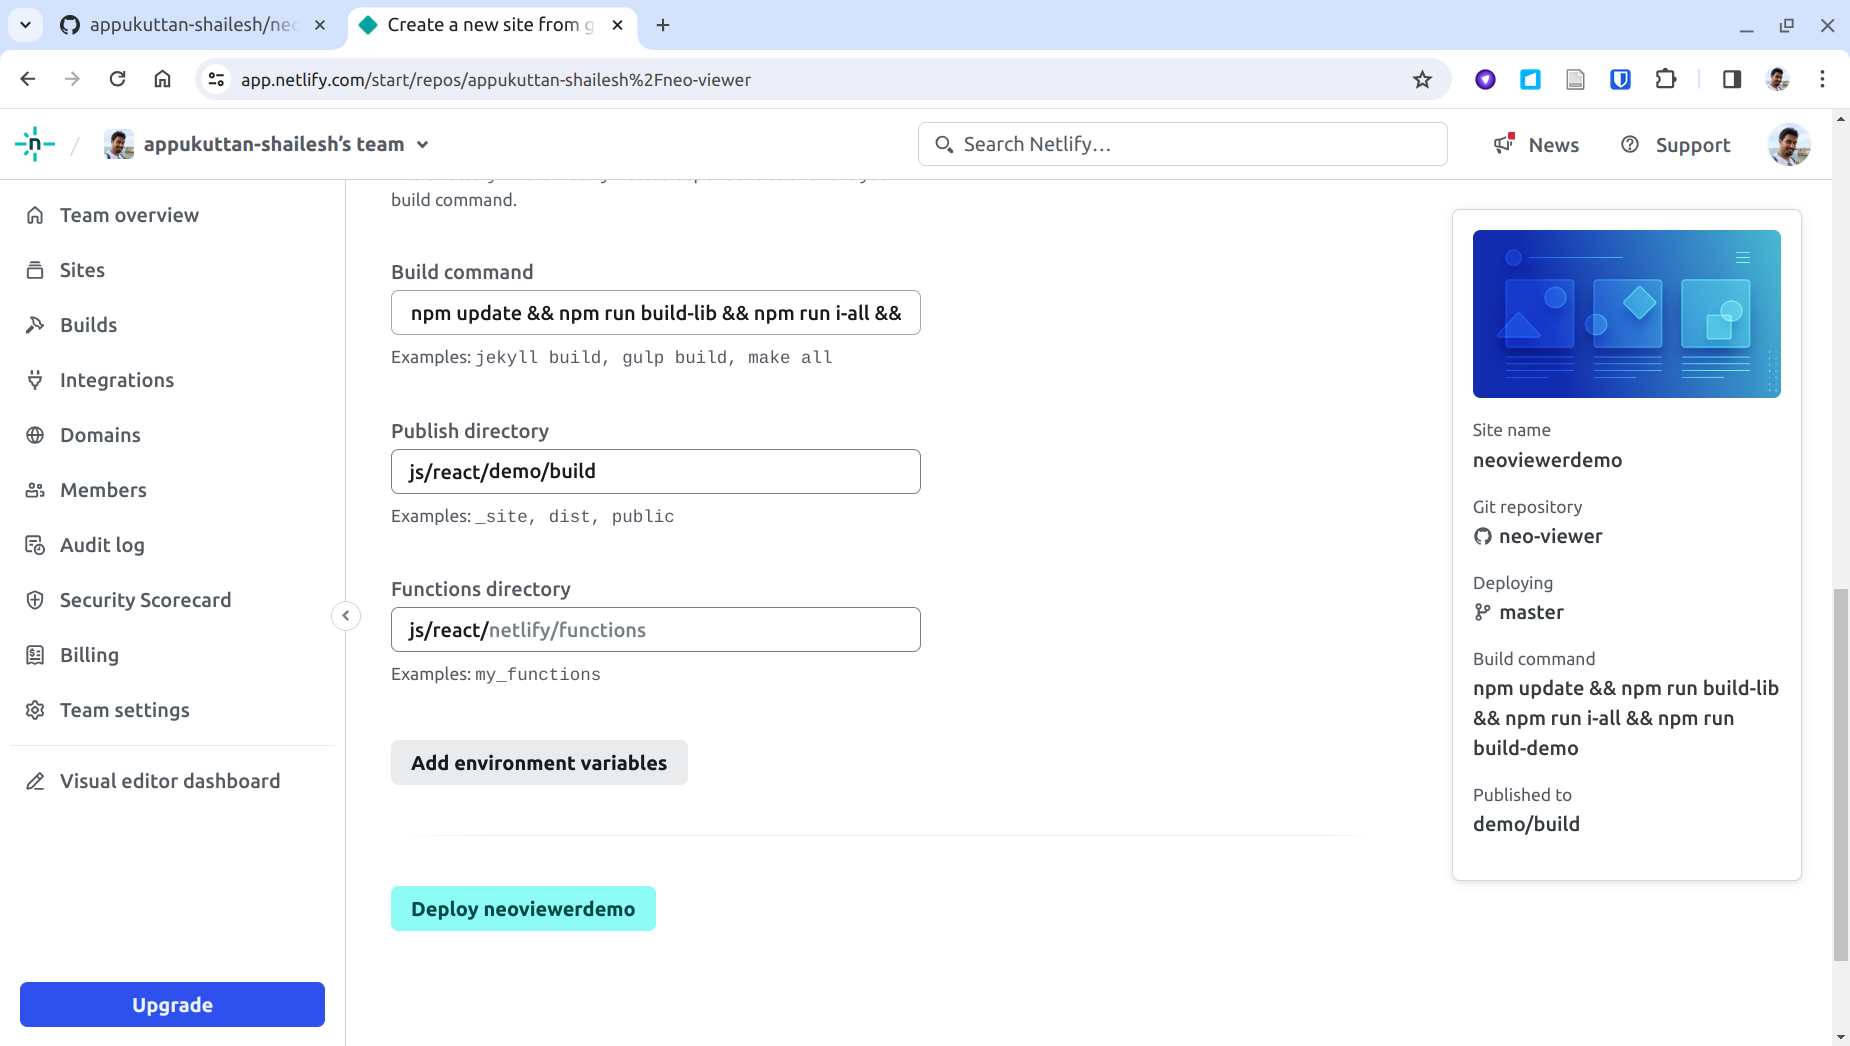
Finally, click on 'Deploy SITENAME' (i.e. Deploy neoviewerdemo in this case) at the bottom of the page to deploy the app.

Step 21:
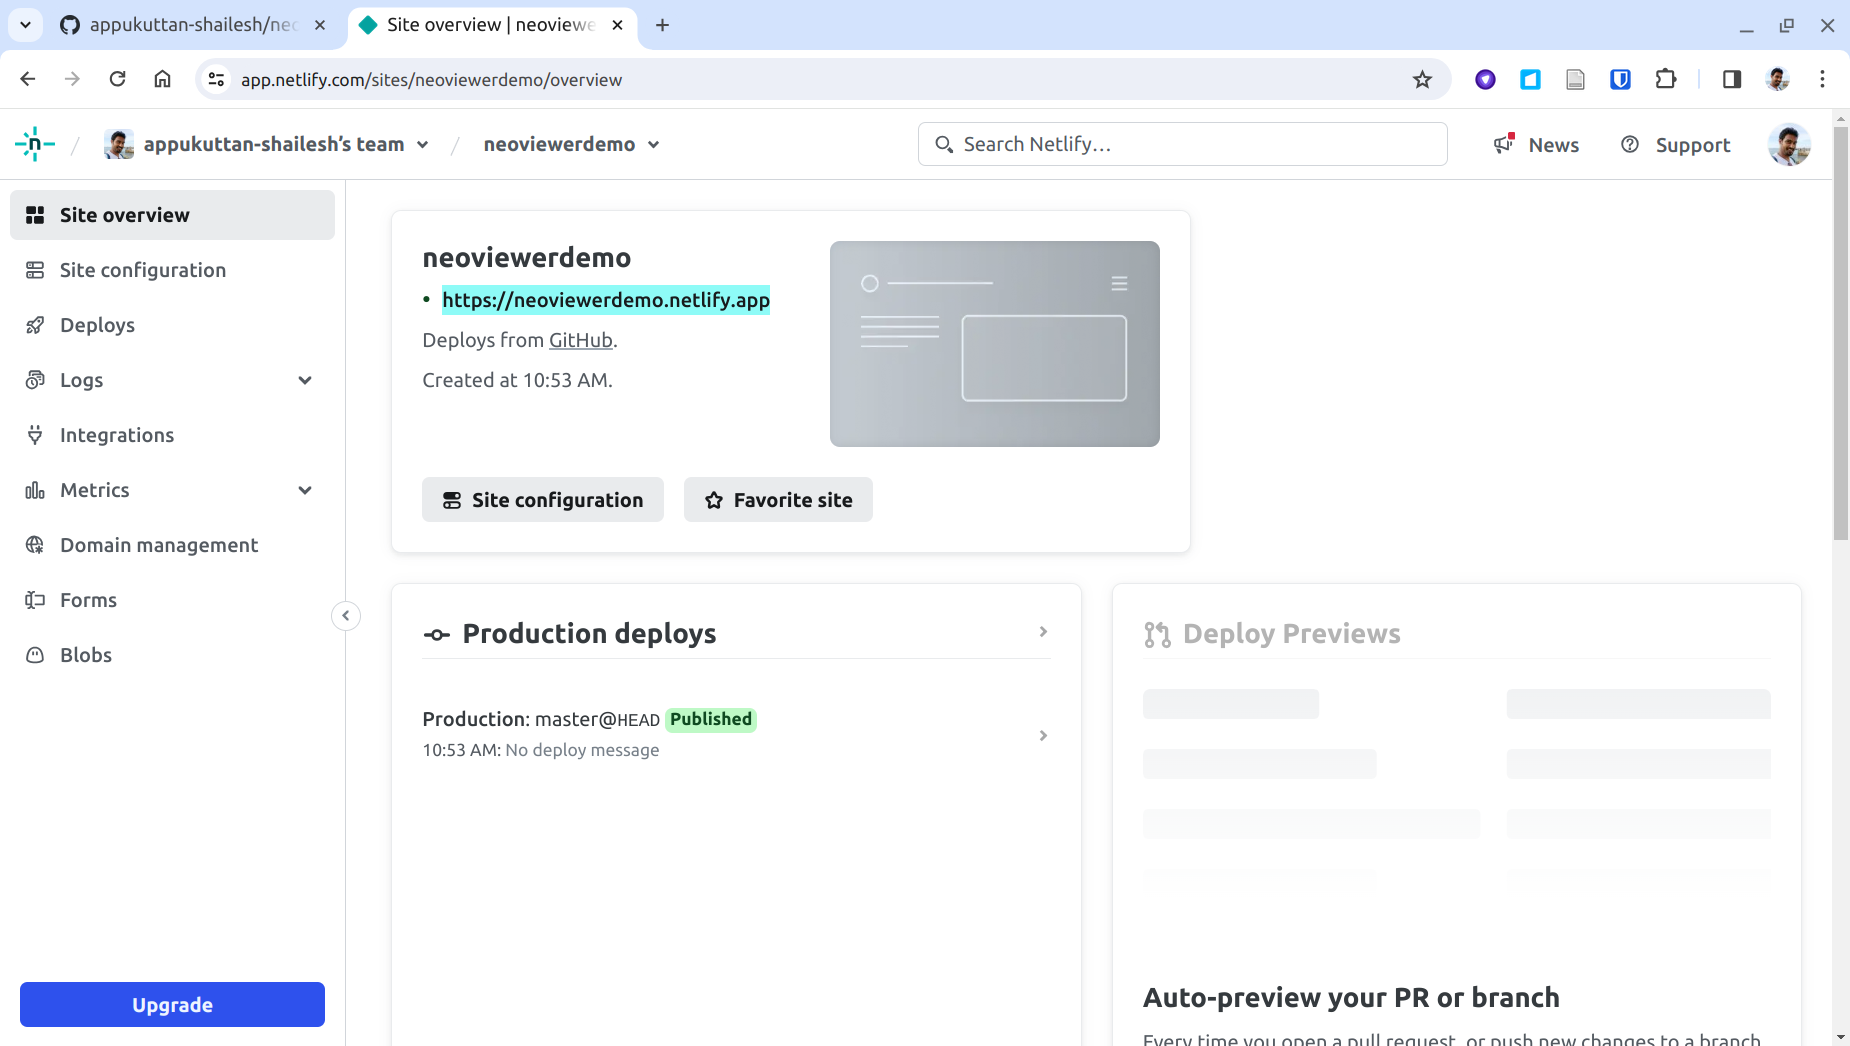
This will take a few minutes to complete. You shall see the deploy status go through various stages, such as 'Starting Up', 'Building', and so on. Once completed successfully, the status will be set as 'published', as shown below. You can now visit the URL of your site (in this case: https://neoviewerdemo.netlify.app) to see the deployed app.

Step 22:
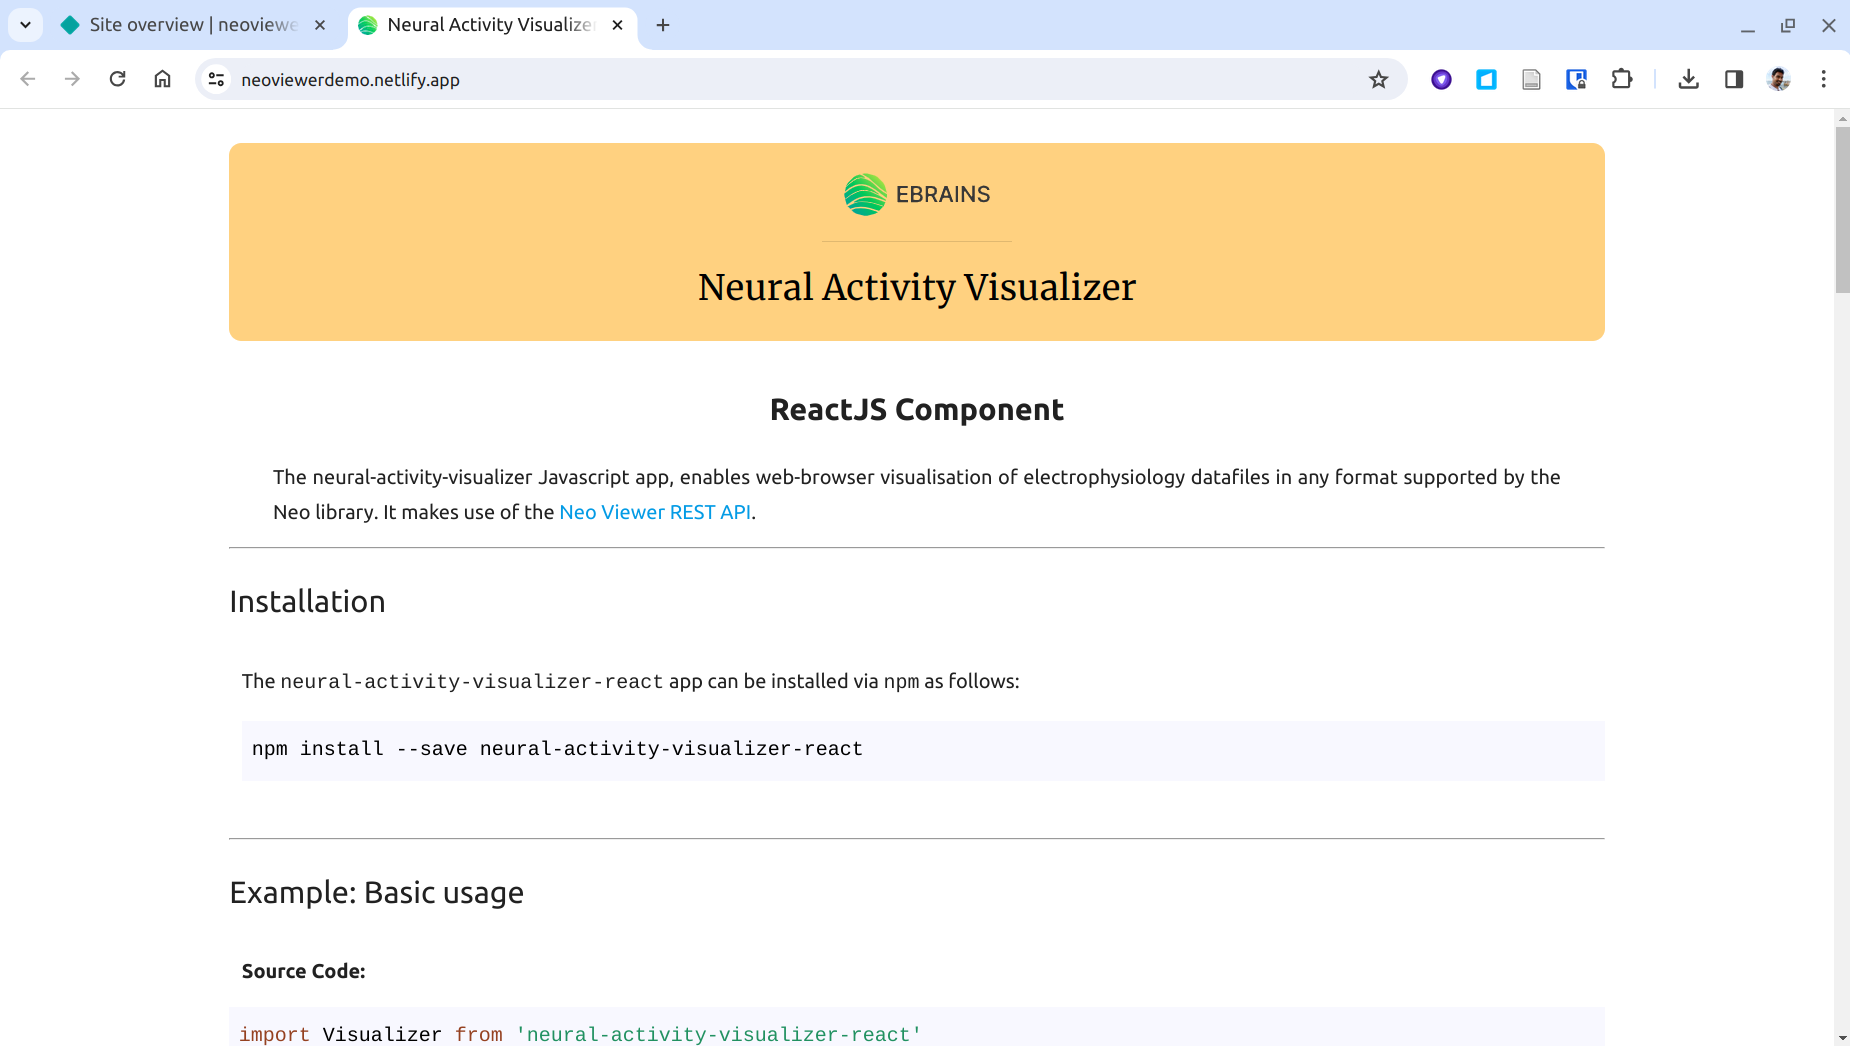
The deployed app is now available at the specified URL. You can share this URL with others to show them your app. You can also make changes to the app, via changes to your fork of the project's GitHub directory, and redeploy it at any time.

Step 23:
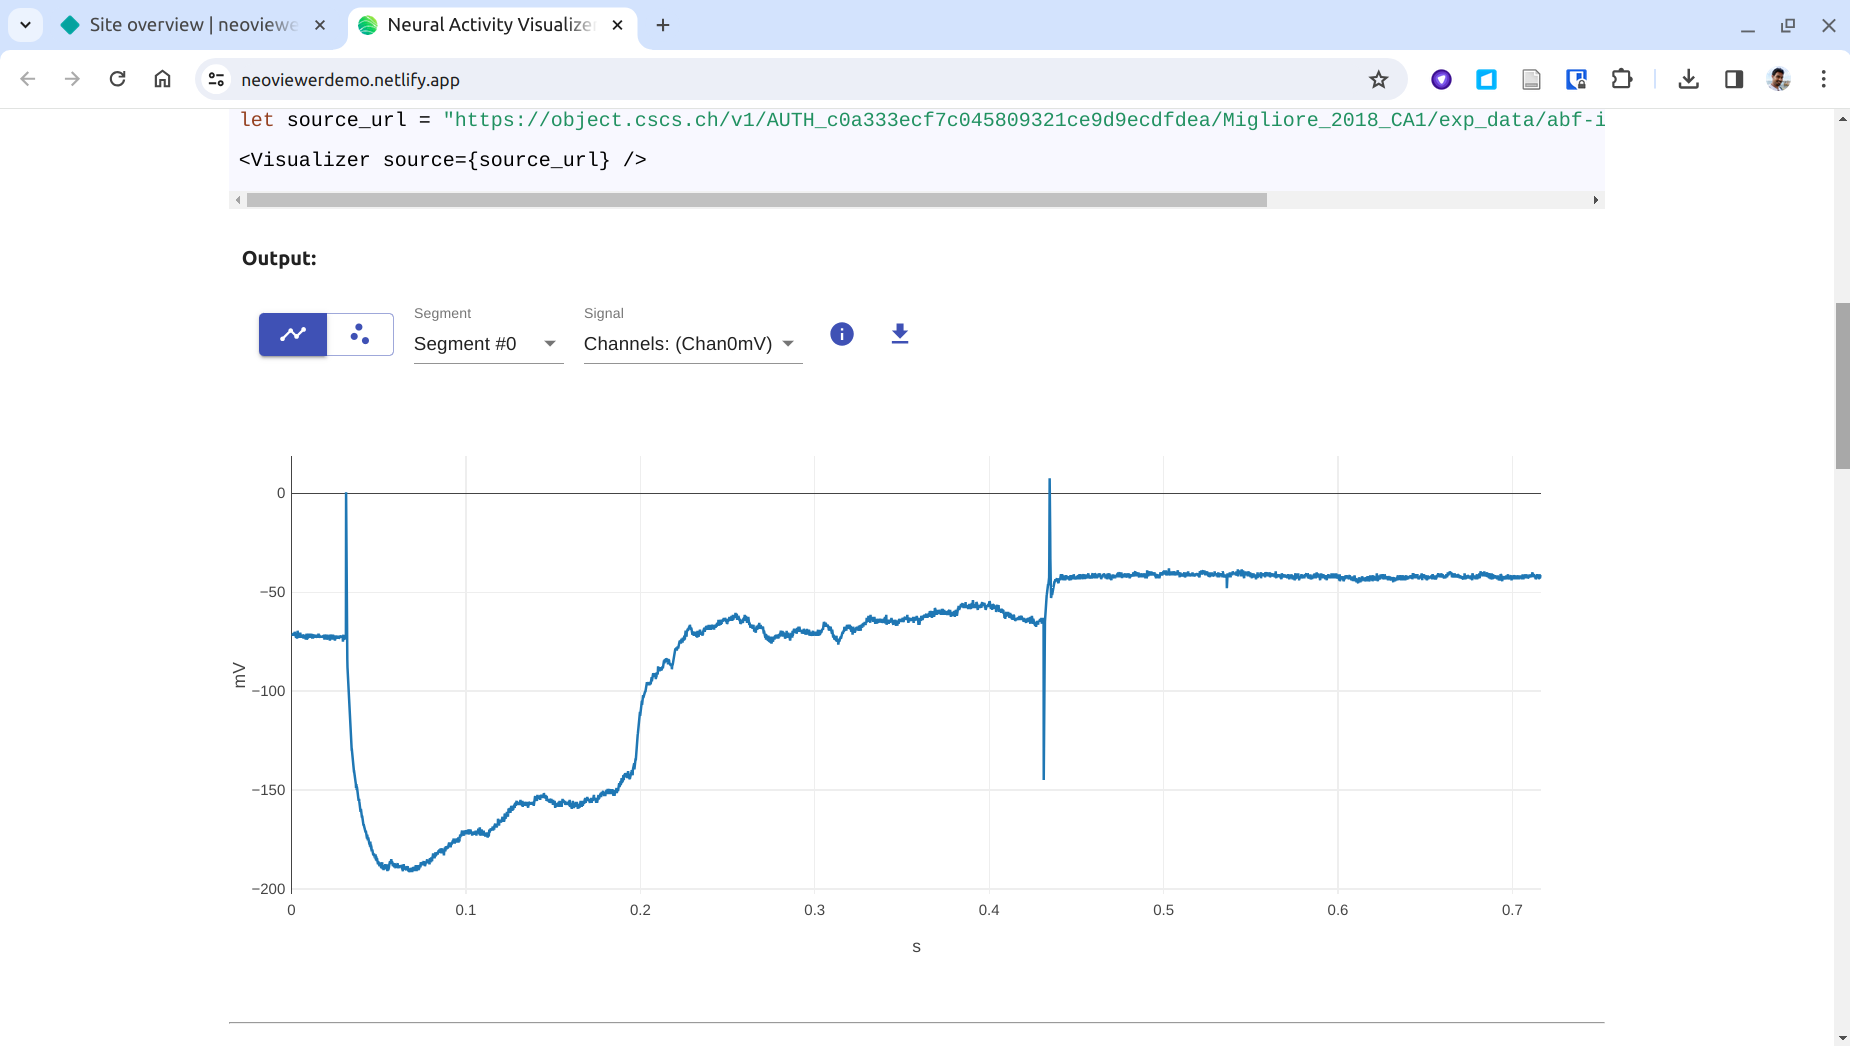
As you scroll down, you see the familiar visualization example that was seen in the demo app:

This project has received funding from the European Union’s Horizon 2020 Framework Programme for Research and Innovation under the Specific Grant Agreements No. 785907 and No. 945539 (Human Brain Project SGA2 and SGA3).
If you encounter any problems, please let us know.